Integrating With Shopify
Hey everyone, in today's video, we're going to be showing you how you can integrate a Shopify store with the Tiny Brander platform. So if you don't want to use, I a repeat, if you don't want to use the inbuilt store funnel builder inside Tiny Brander, you can opt out of that and create a more traditional style store within Shopify. And this is the video to show you exactly how to do that.
So we have it all up on the big screen here. I'm going to jump in, and we're going to break it down. Now this is going to be a fairly long video, the steps to integrate with Shopify are simple to do, but there are quite a few steps to go through in order to get all the information that you're going to require. Okay, so let's get right into it now. And we're going to break it down step by step.
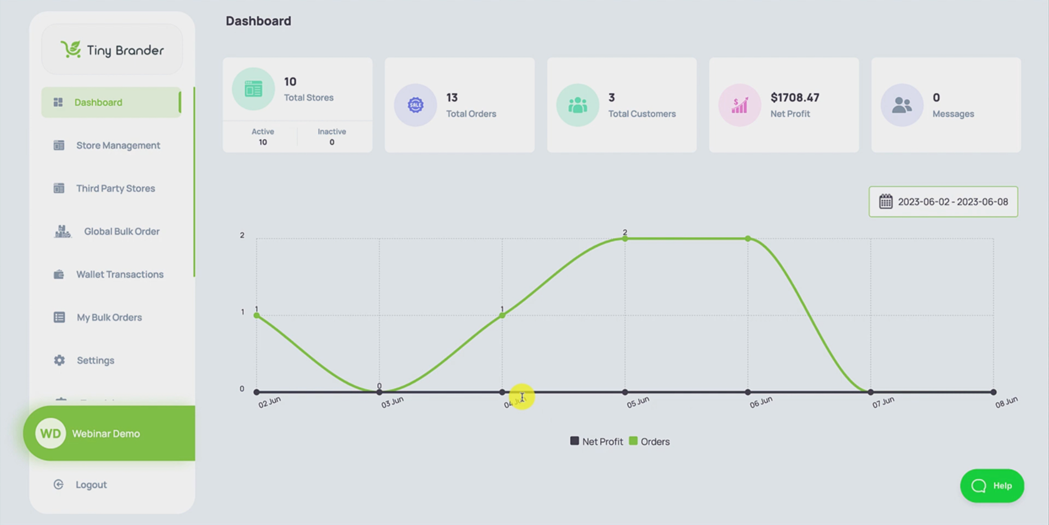
First thing we want to do is log in to our Tiny Brander account. And here we are on one of our test stores.
And in order to do a Shopify integration, you're going to want to go down on the left hand side where it says Third Party Stores and click into that.
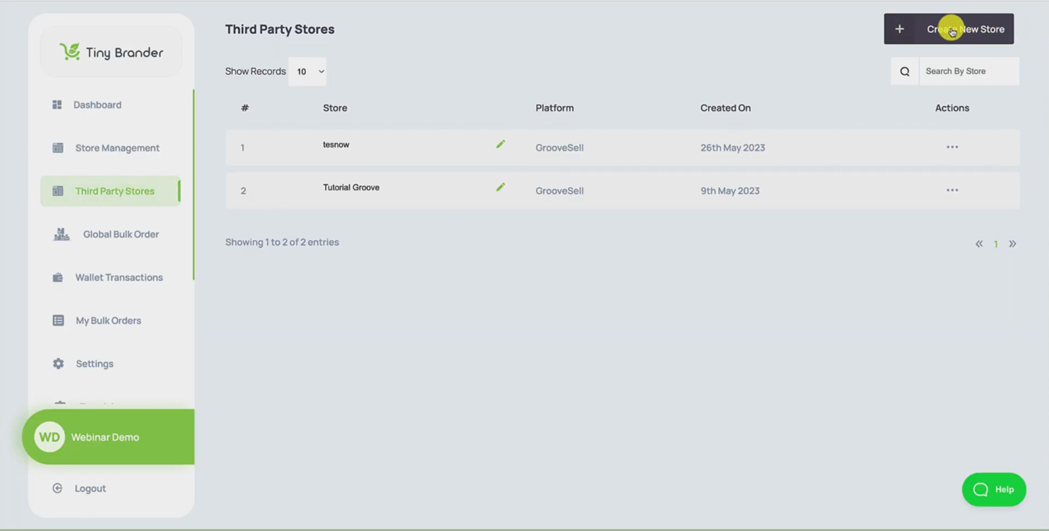
Okay, and you're going to want to hit the big Create New Store button.
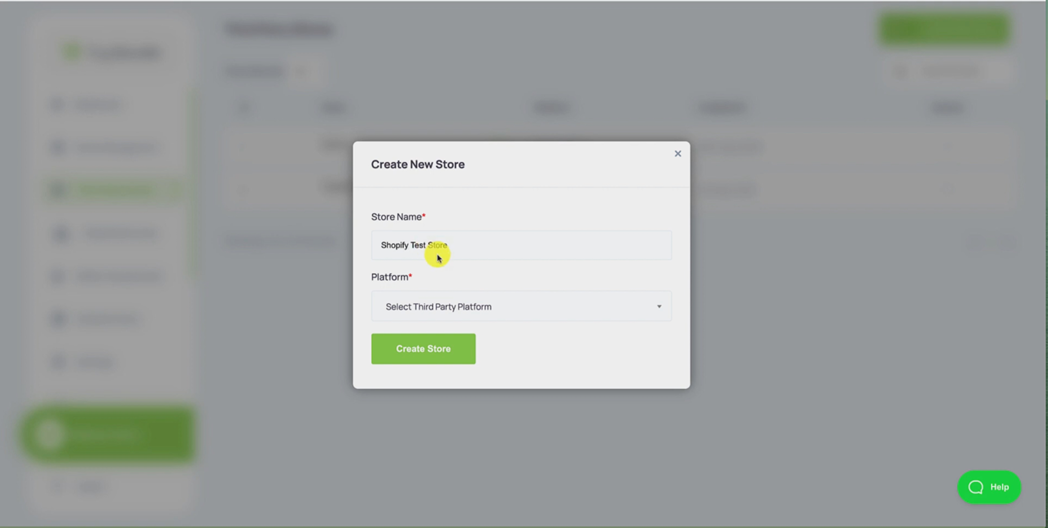
Okay, and we're going to call this Shopify Test Store.
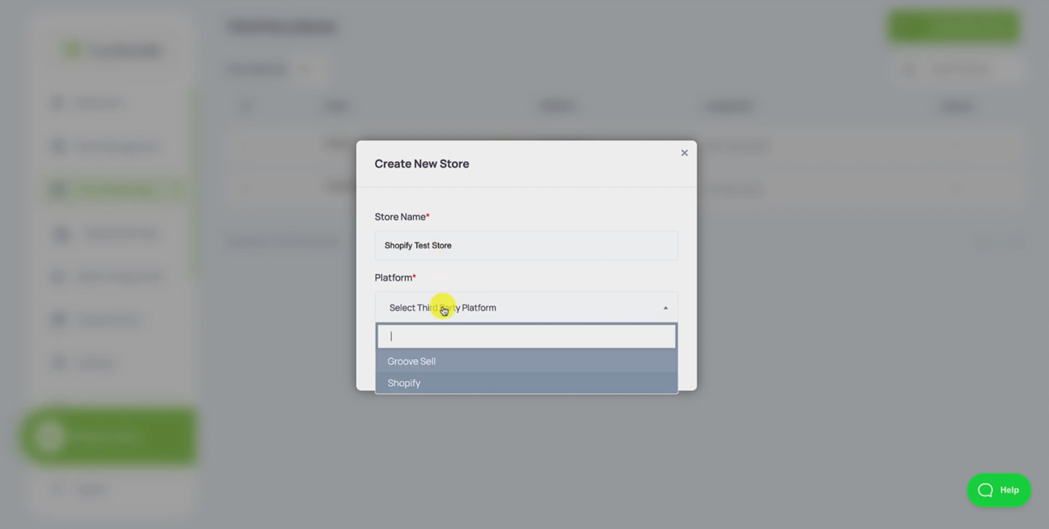
And the third party store that we're going to select is obviously Shopify.
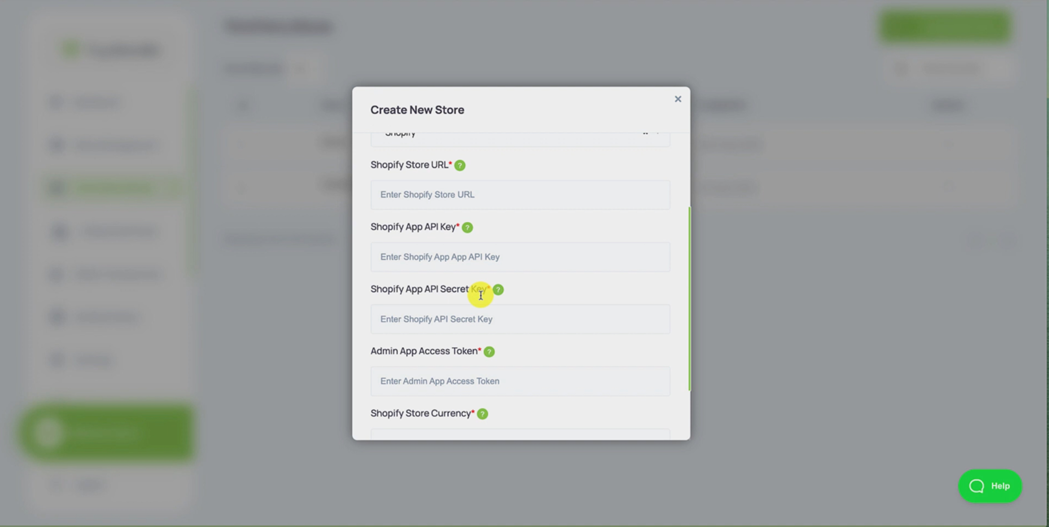
Okay, so this shows us all the information we're going to need to gather from Shopify in order to make this integration possible. So as you can see here, we need the Shopify Store URL, we're going to need the Shopify App API Key, we're going to need the Shopify App API Secret Key. And we're going to need the Admin API Access Token. Okay, so four pieces of information. I'll repeat them again, you might want to write these down the Shopify Store URL, the Shopify App API Key, the Shopify App API Secret Key, the Admin App Access Token.
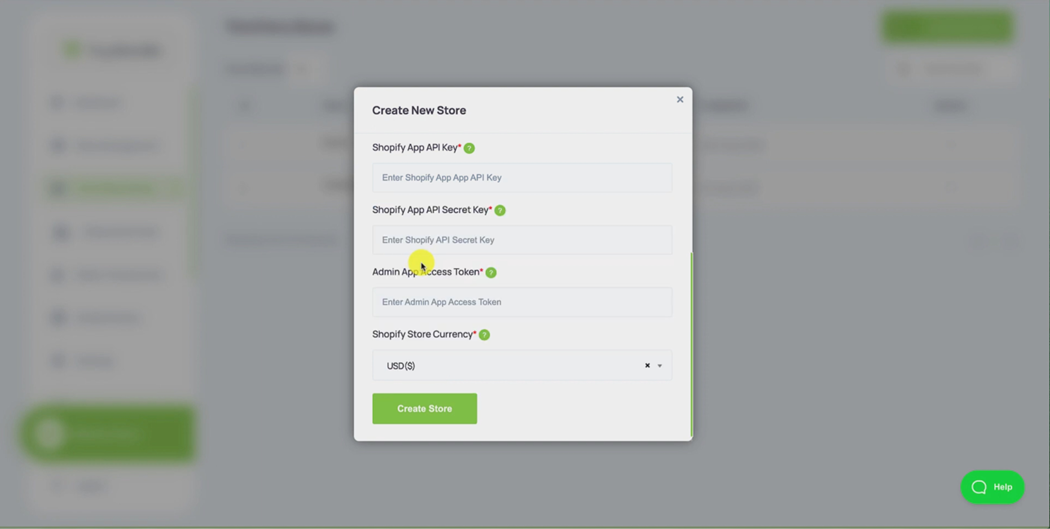
And then the final piece of information we need is the store currency, which I'm just going to set as US Dollars.
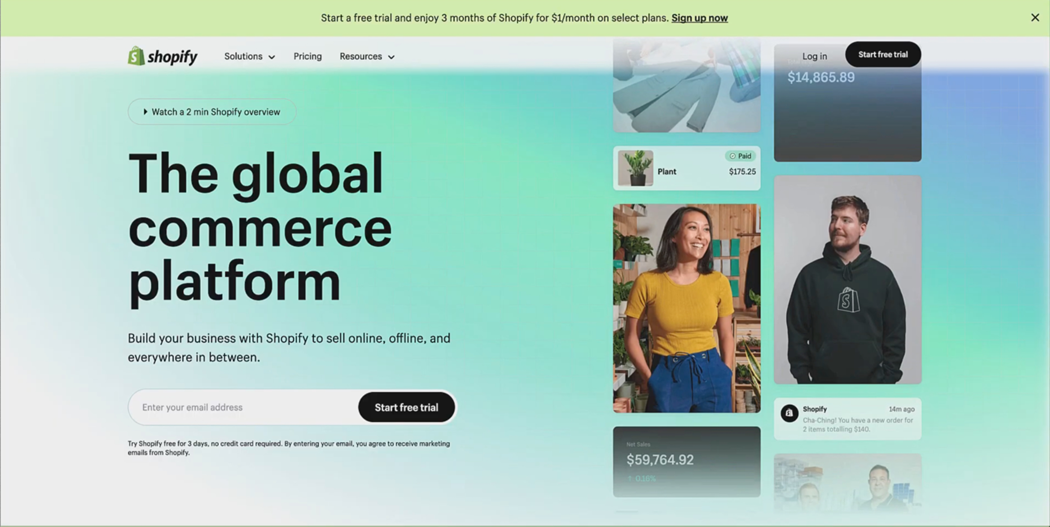
Okay, so for right now, I'm going to leave this page here with this up and move across to Shopify, where I am going to log in to a account, which is our test account.
And we're just going to create a brand new store in a similar fashion to the way that you will do if you already have an existing store, all you'll have to do is click into that store, and then the setup will continue the same.
But I'm just going to hit create another store.
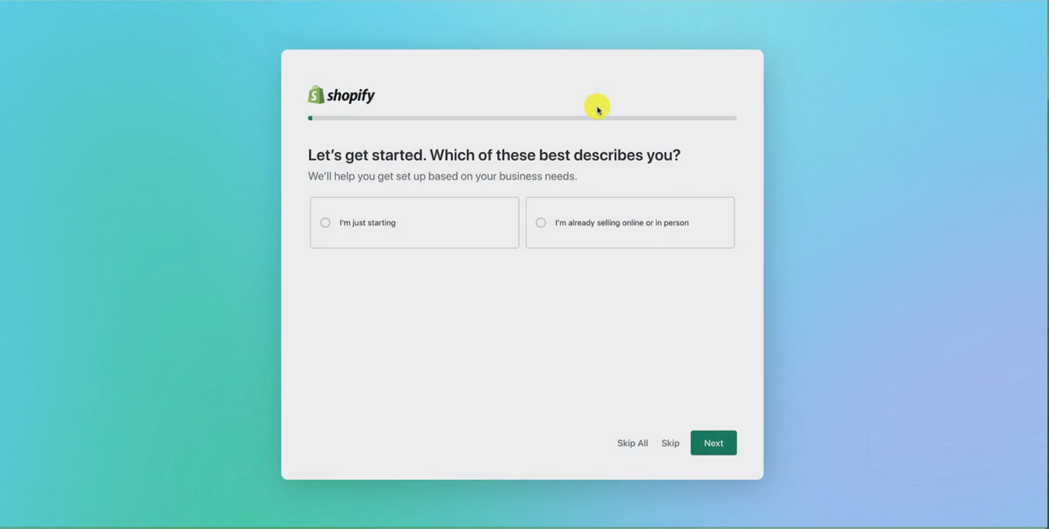
And I'm just going to skip all of this automated setup, because we don't need any of that.
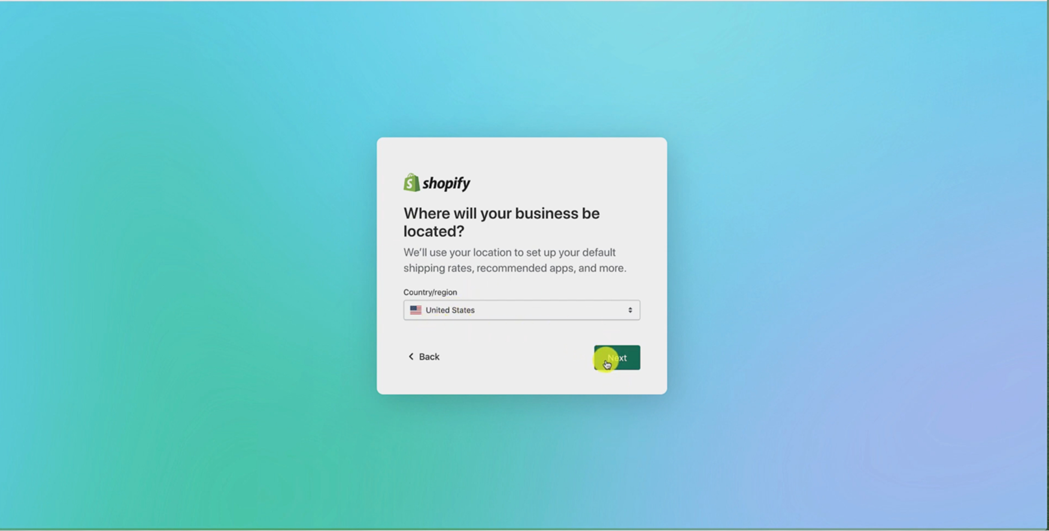
All we need to tell them is where our store is located.
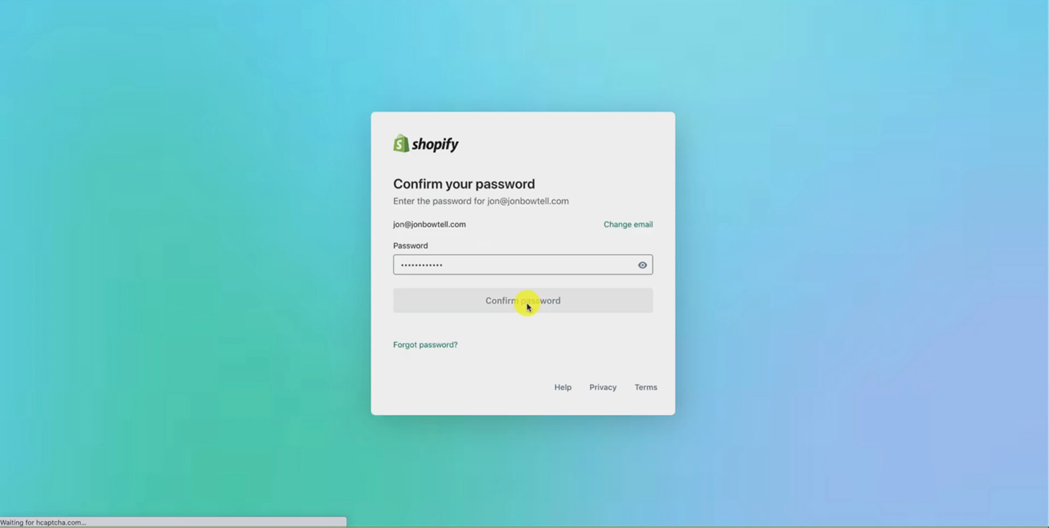
And let them know my Shopify login details.

And it's going ahead and building that Shopify store for me in the background.
Now that's just going to take a minute or so to complete and I'll be right back after that's done.
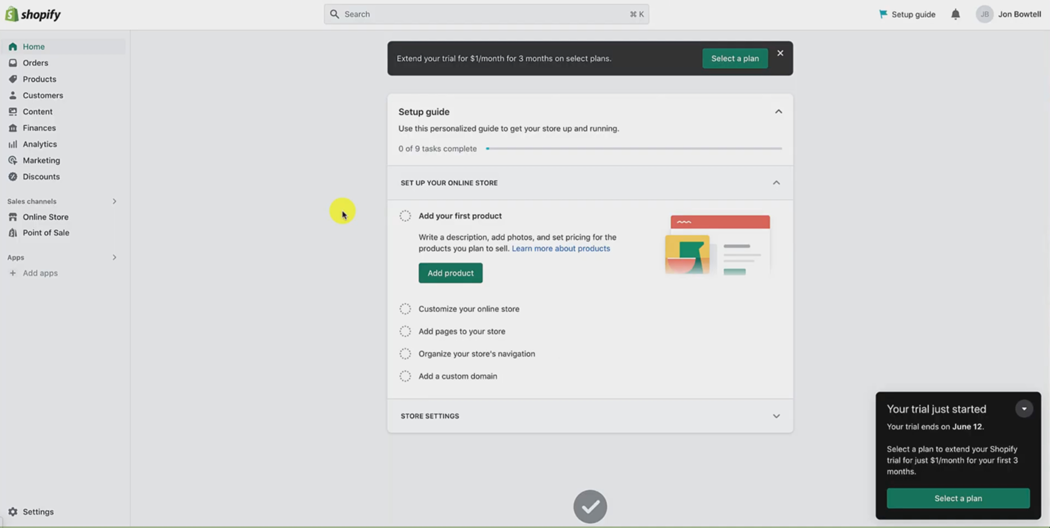
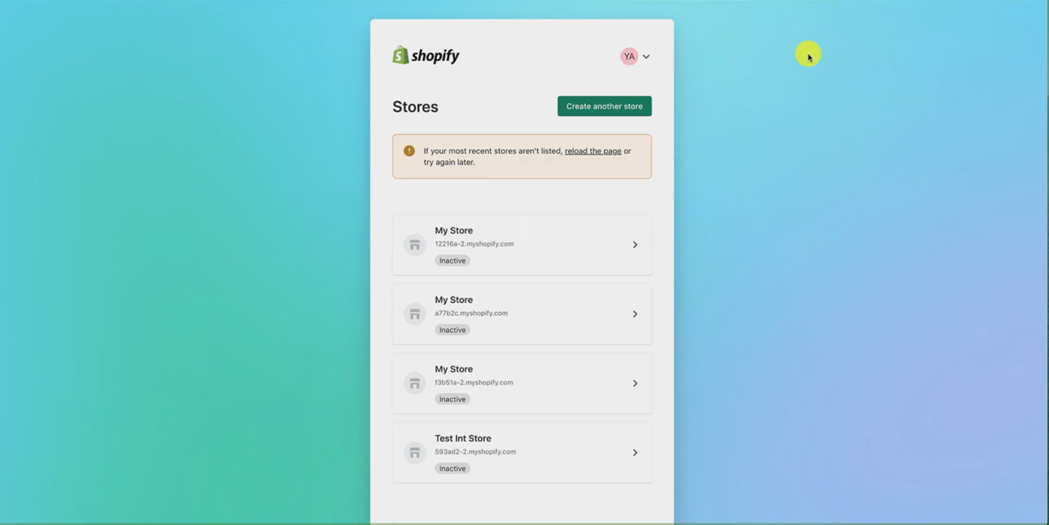
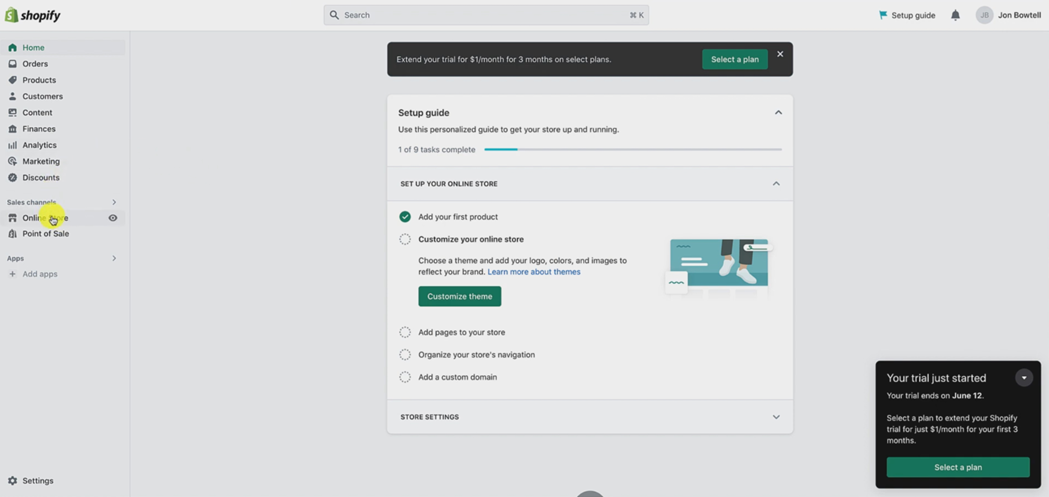
Okay, so this is the page, you're going to find yourself out after that setup has completed. If you've already got a store complete, you probably wont see a screen like this, it will look a little different. But the menu on the left hand side should look identical.
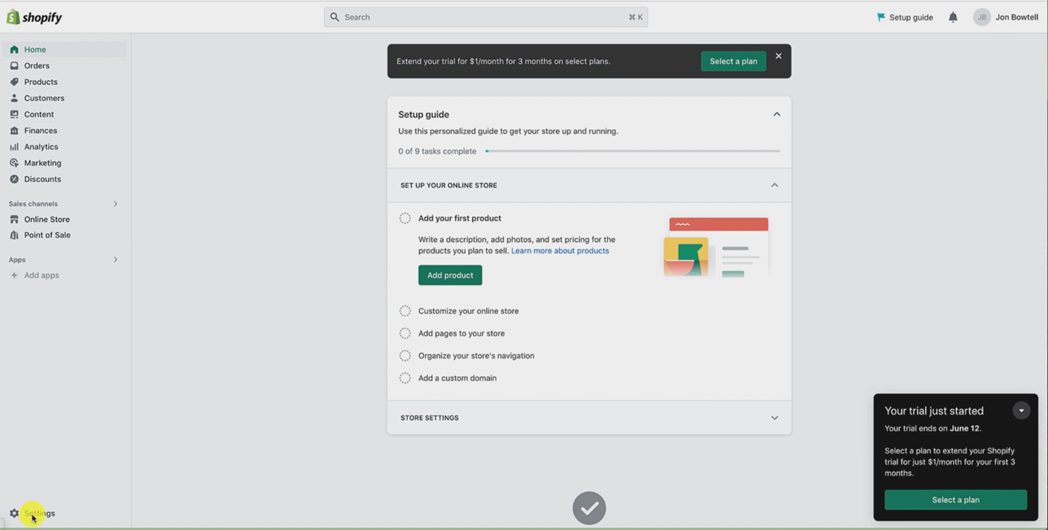
So the place where we need to go to start this process is down here in the settings.
So on the bottom left hand corner, just click Settings.

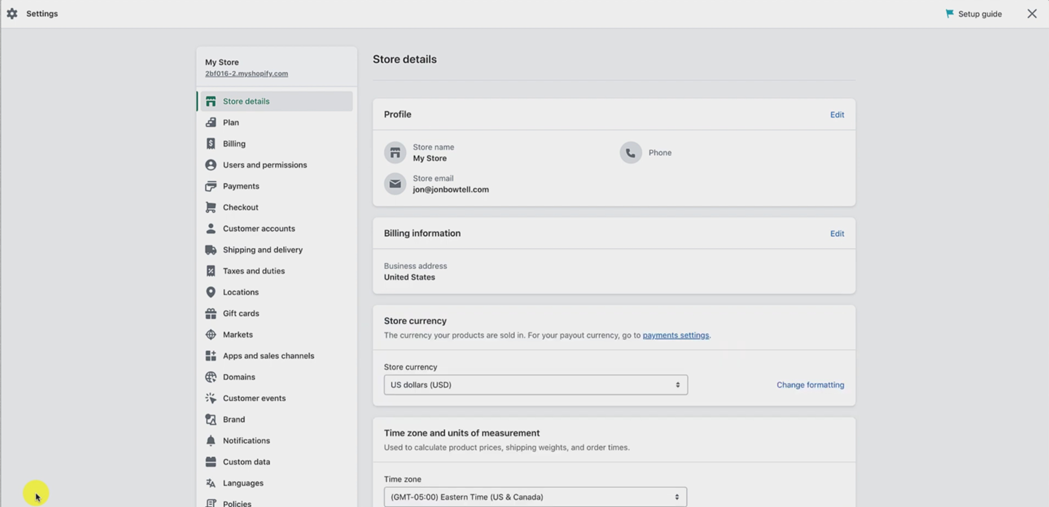
And then you want to go down to the new menu that pops up and go down to apps and sales channels and click into that.
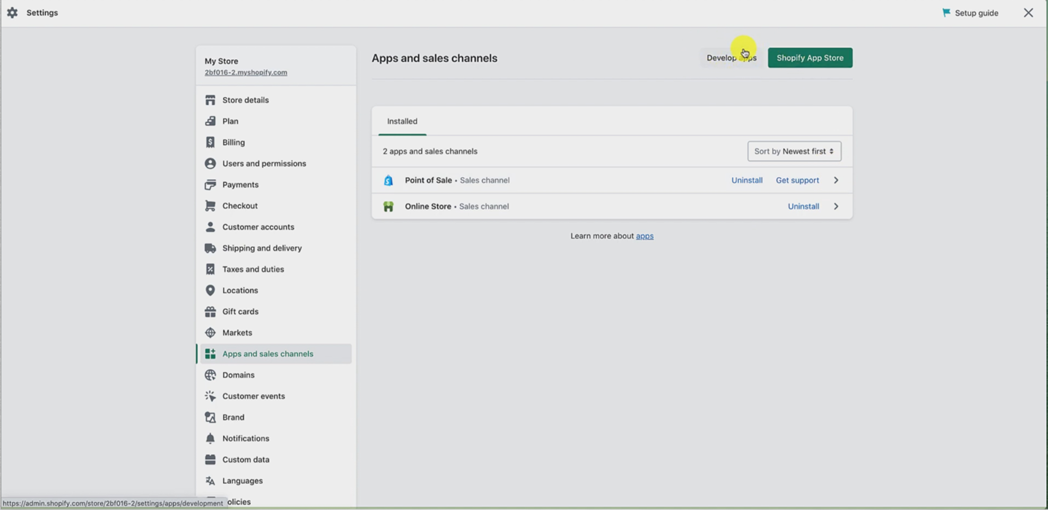
Okay, and then we want to hit up here where it says develop apps. So we click that.
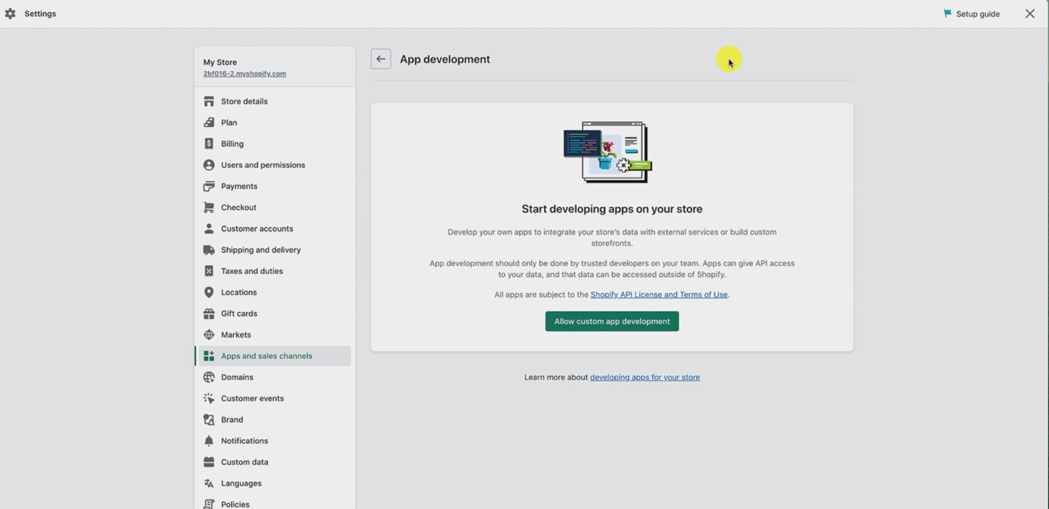
And then we hit the button that says allow custom app development.
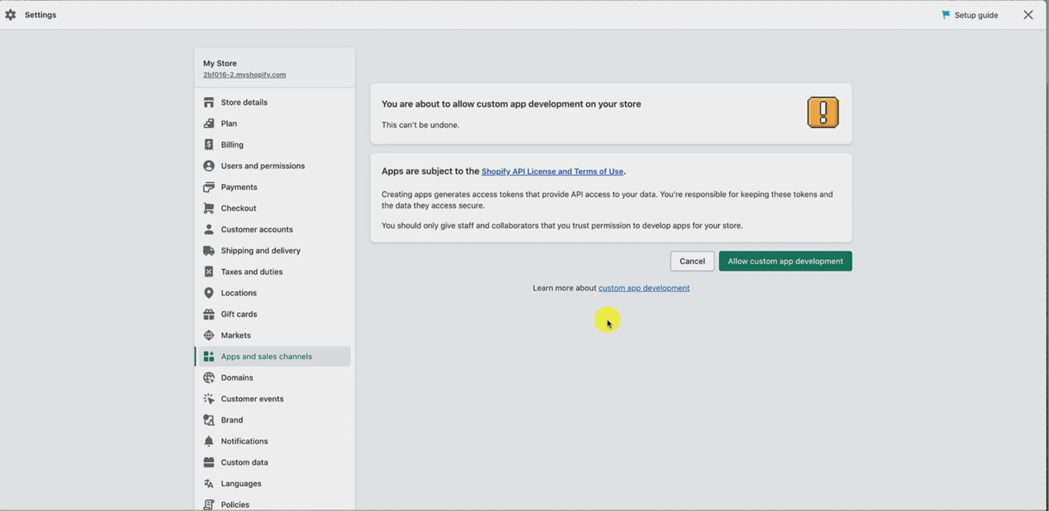
And again, allow custom app development.
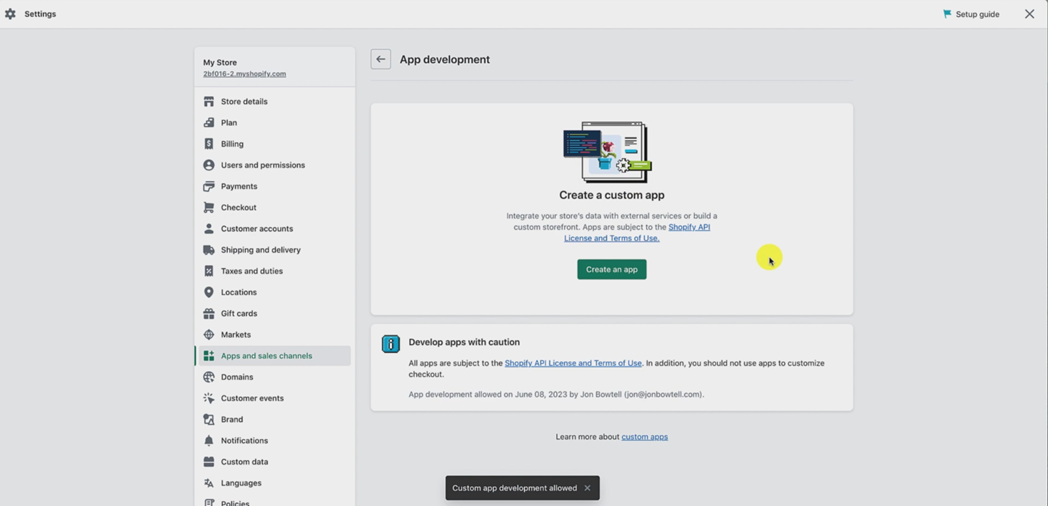
And then want to hit the button that says Create an app.
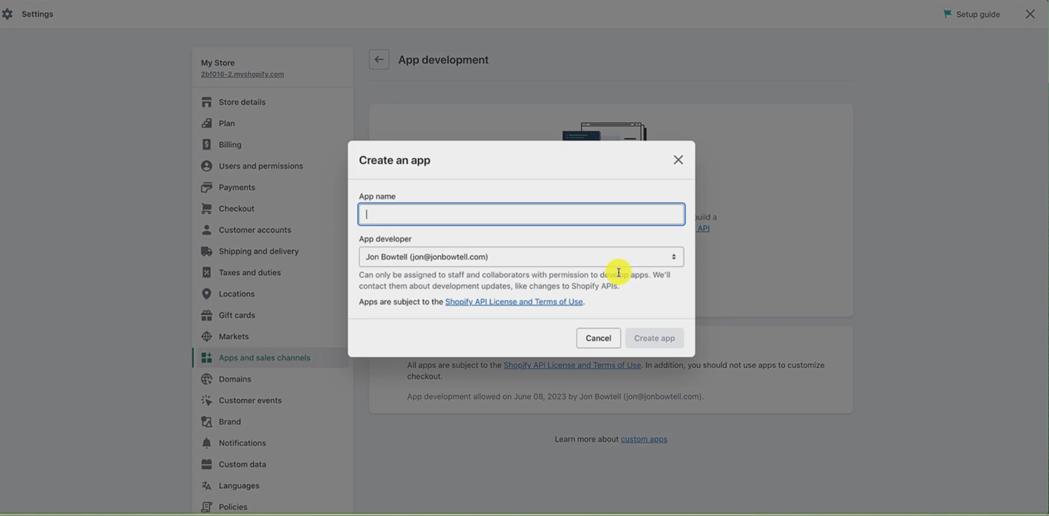
Okay, now we want to give this app a name. Now don't get frightened by the by the fact that saying create an app, it's really just creating a connection. So if you're worried about it, where it says app, just think connection, we're creating a connection between Shopify and Tiny Brander. So where it says app name, I'm just gonna put Tiny Brander Connect.
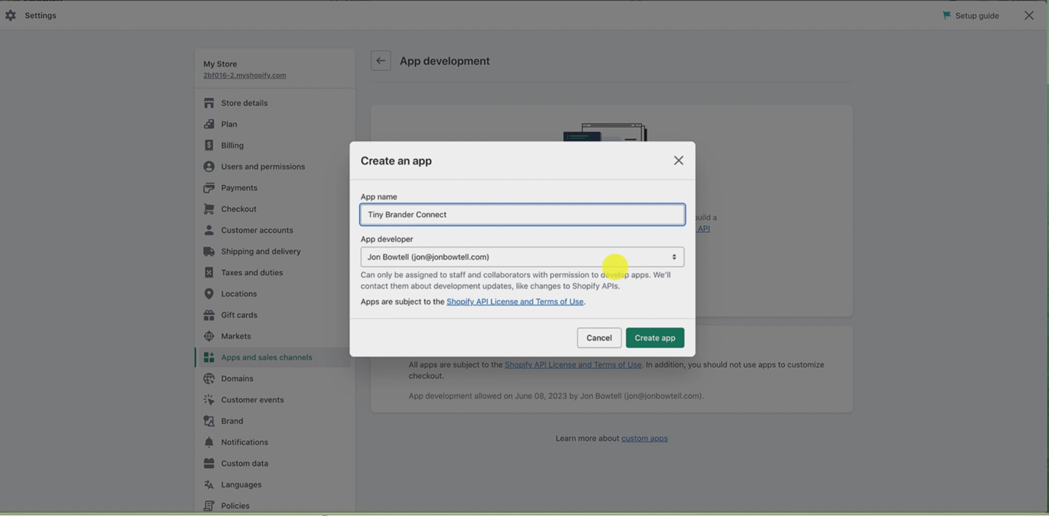
Okay, you may want to call it the same or Tiny Brander Integration, whatever you want to call it. So you can recognise it as a connection between Shopify and Tiny Brander. And then we just hit create app.

Okay, that leads us to this screen.
Now I want you to pay very close attention to this part, because this is the part where it has a couple of steps which could easily go awry if you don't follow the steps exactly.
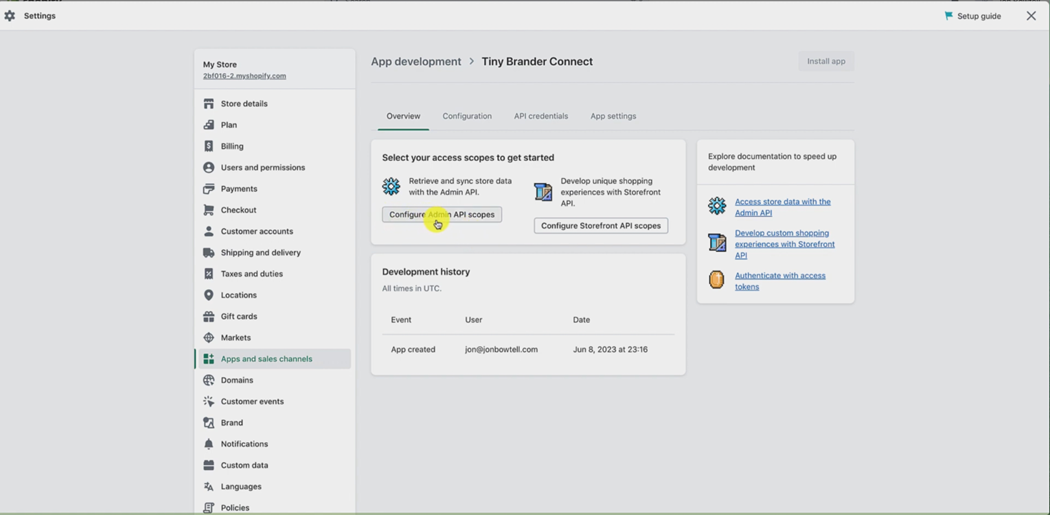
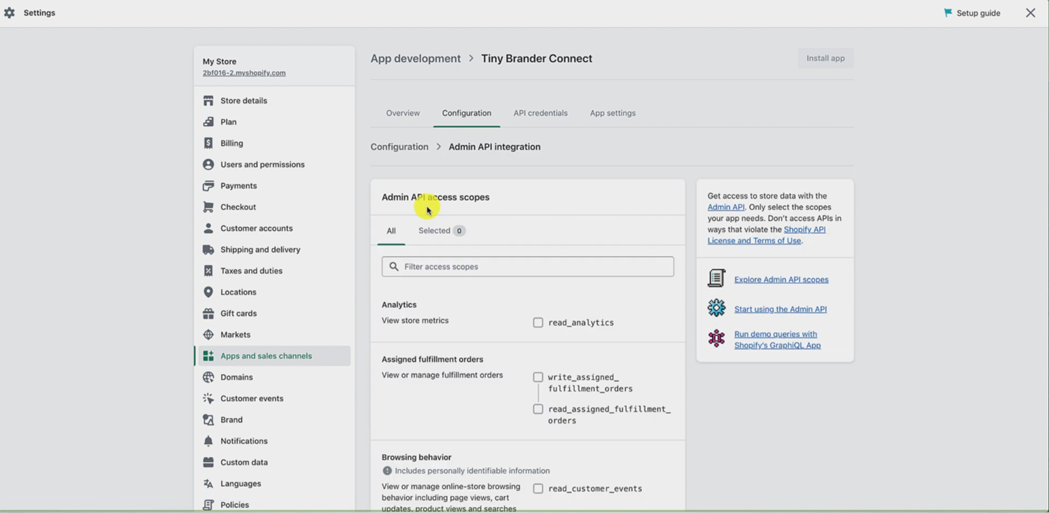
Okay. So we want to hit where it says configure Admin API scopes right here.

Okay, and then we're going to click into where it says filter access scopes. and you're just going to type the word "Products".
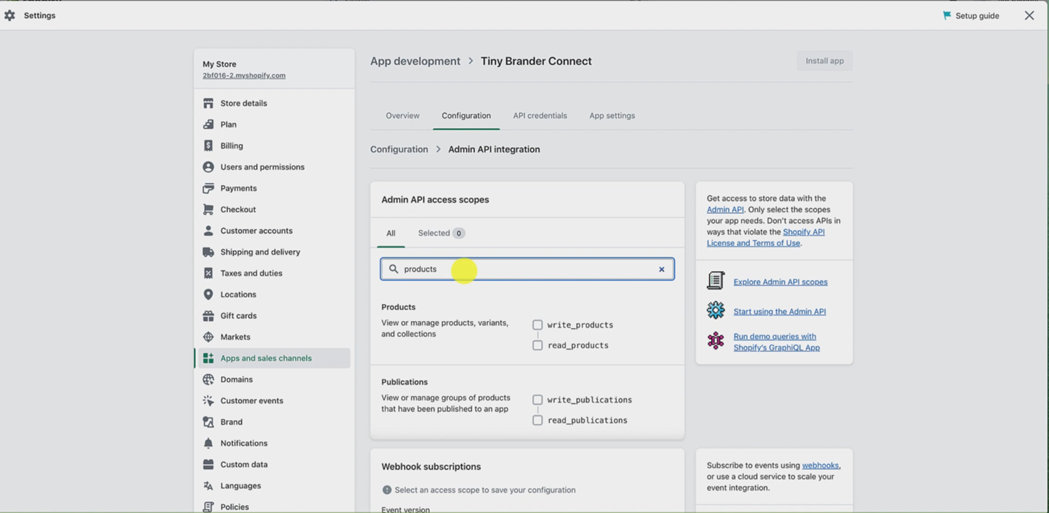
Okay, and then it's going to bring up this section here that says products...
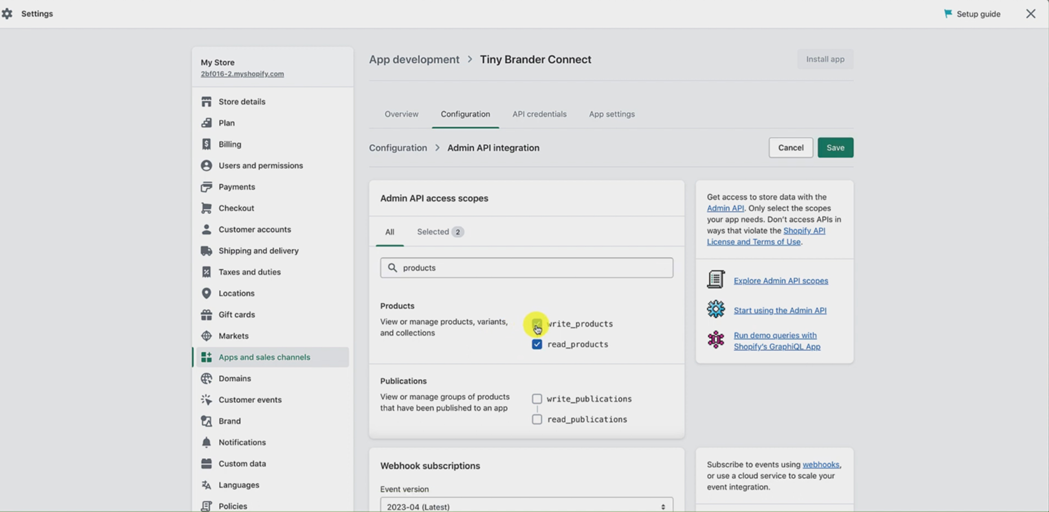
...and you want to click into the right products, and then it will select both checkboxes. That's perfect.
That's exactly what you want.
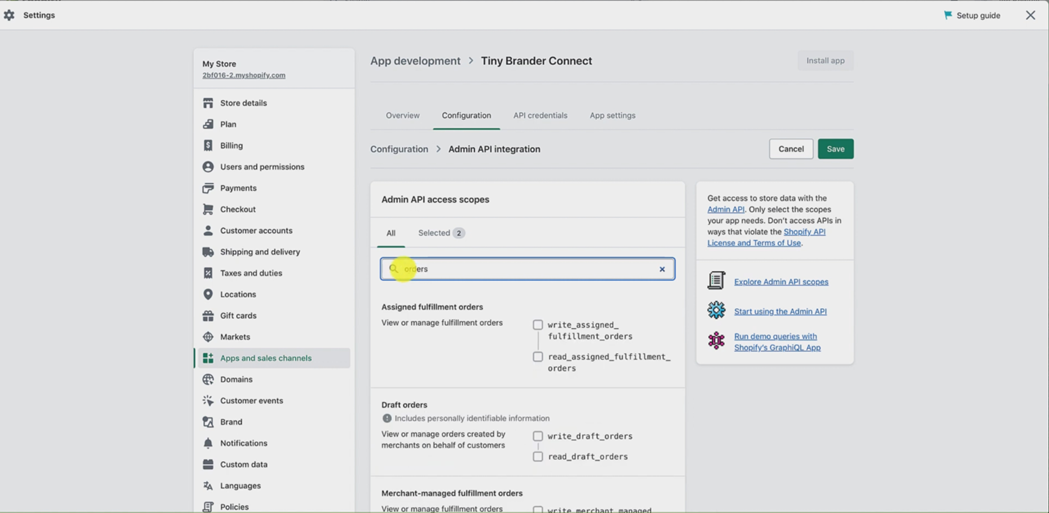
Then just go straight back into the filter box, again, the search box. And now type orders, o r, d, e, r, s orders. And scroll down until you get the box, the section rather that says orders, okay, so you don't want this. You don't want assigned fulfilled orders. You don't want draft orders.

You don't want merchant managed orders, you don't want order editing, you want the one that just says orders.
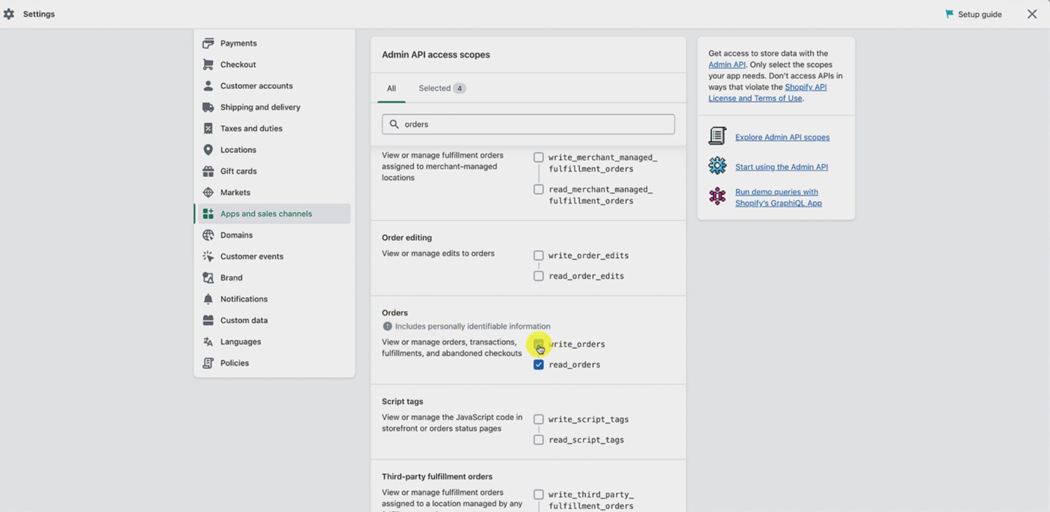
And you want to click into that one.
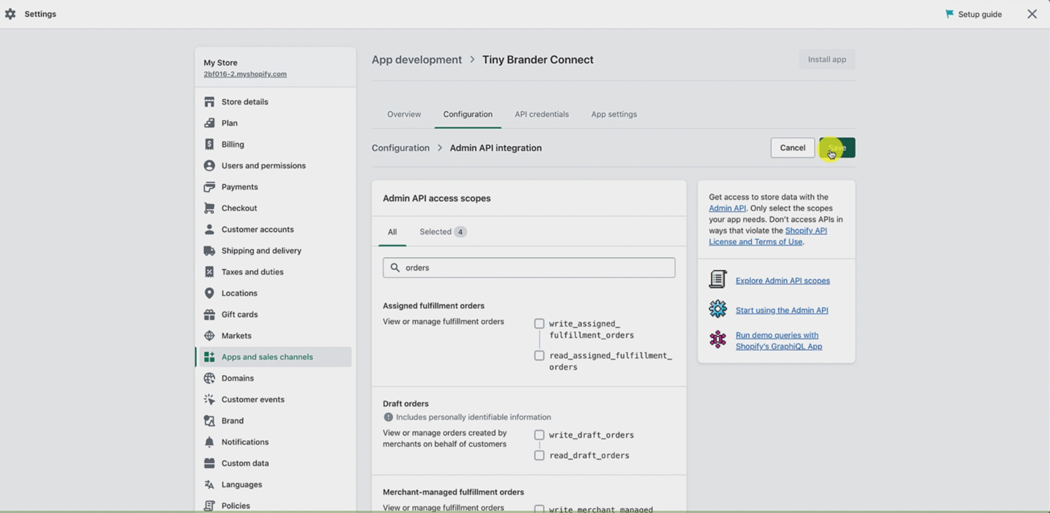
Okay. And then scroll back up and hit the Save button.
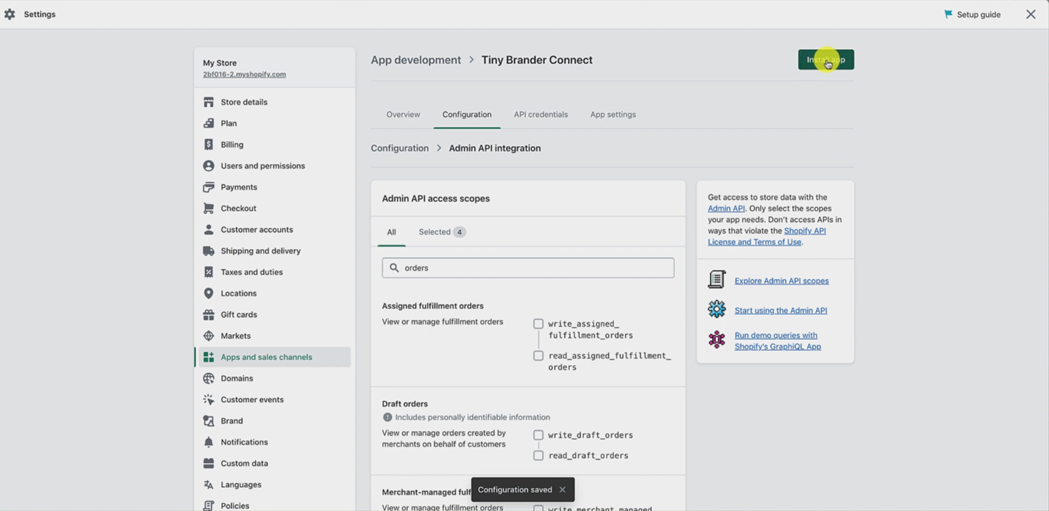
Okay, when that is done, you want to hit instal app
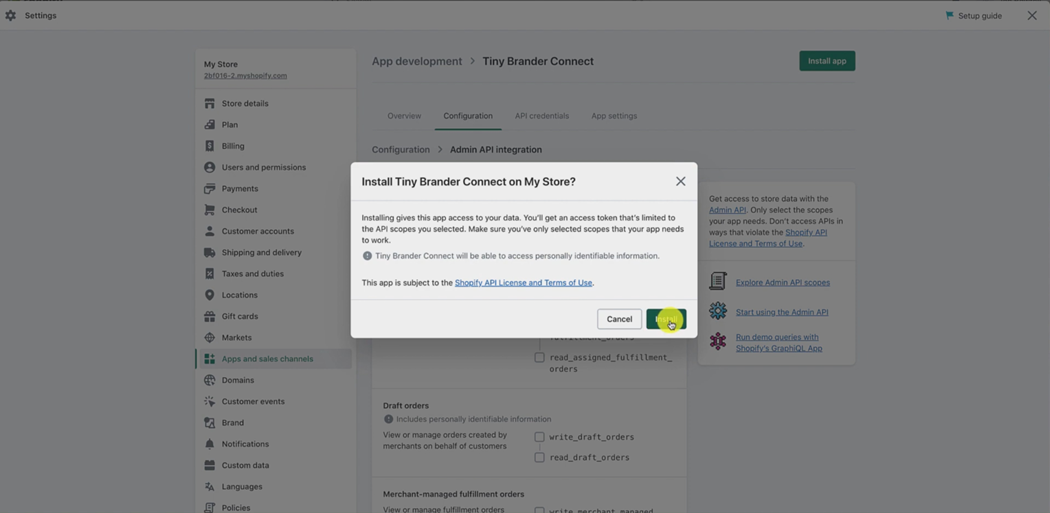
and then hit install.
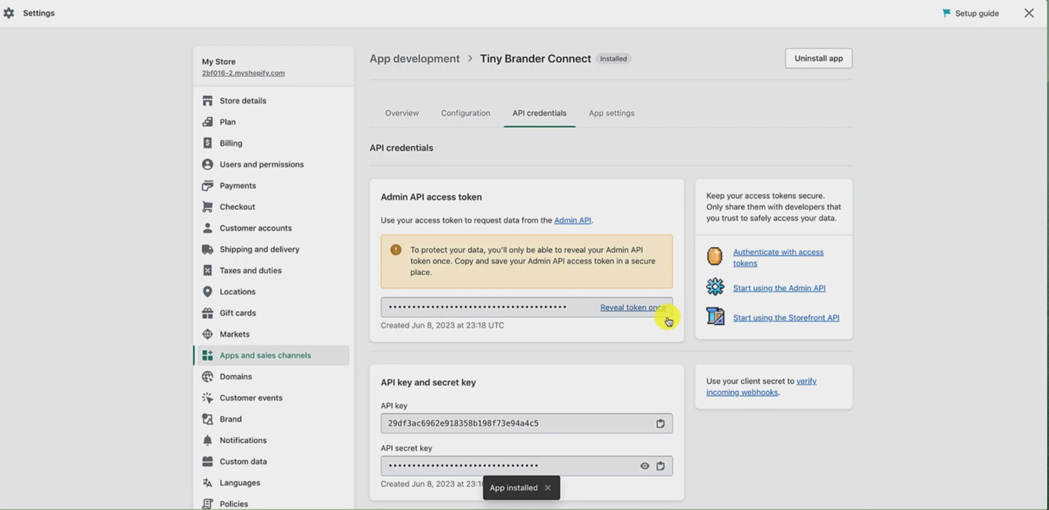
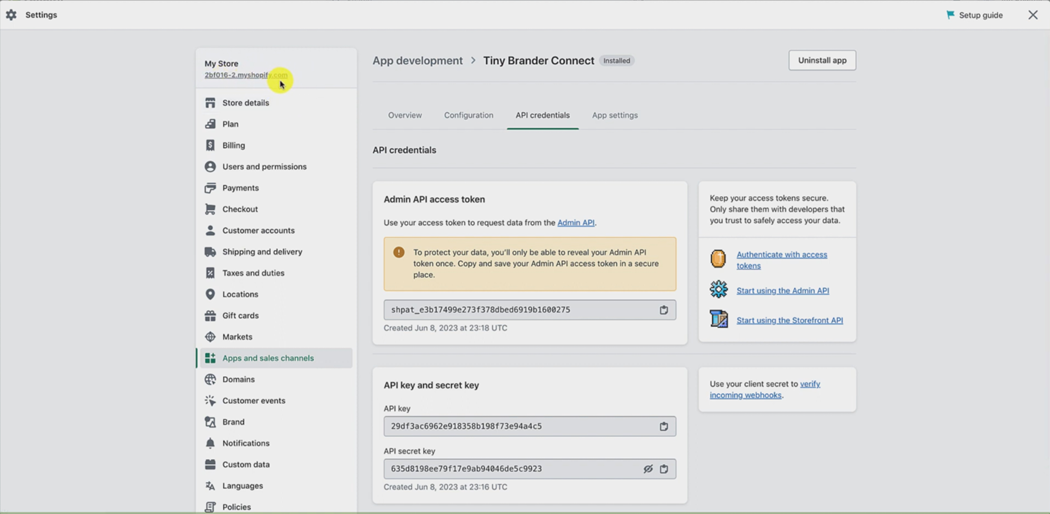
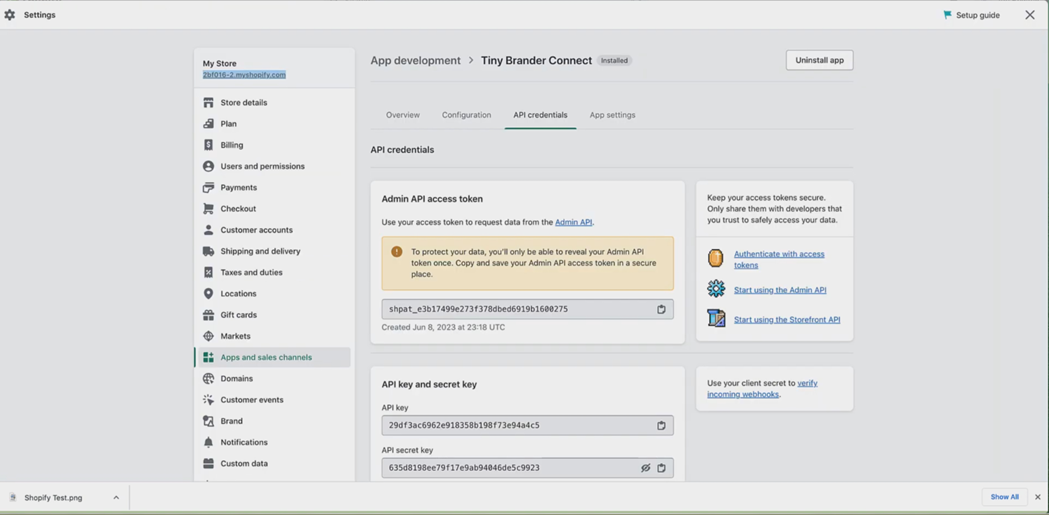
Okay, now we've got all the information we need to put into Tiny Brander. So let me show you where to get that. The first one is the Admin API access token. Now, you can only reveal this once. So make sure you do it right.
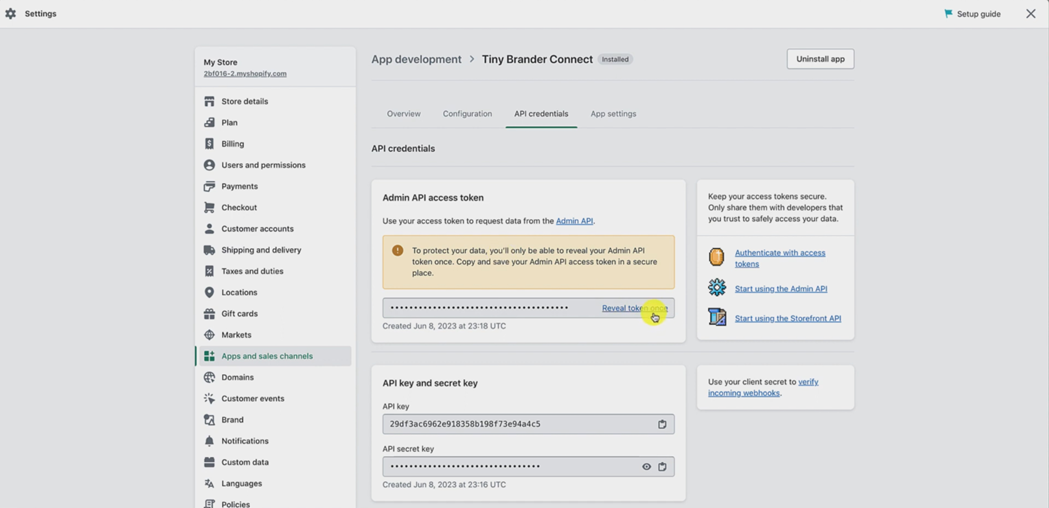
Click reveal once, click the little icon that says copy.
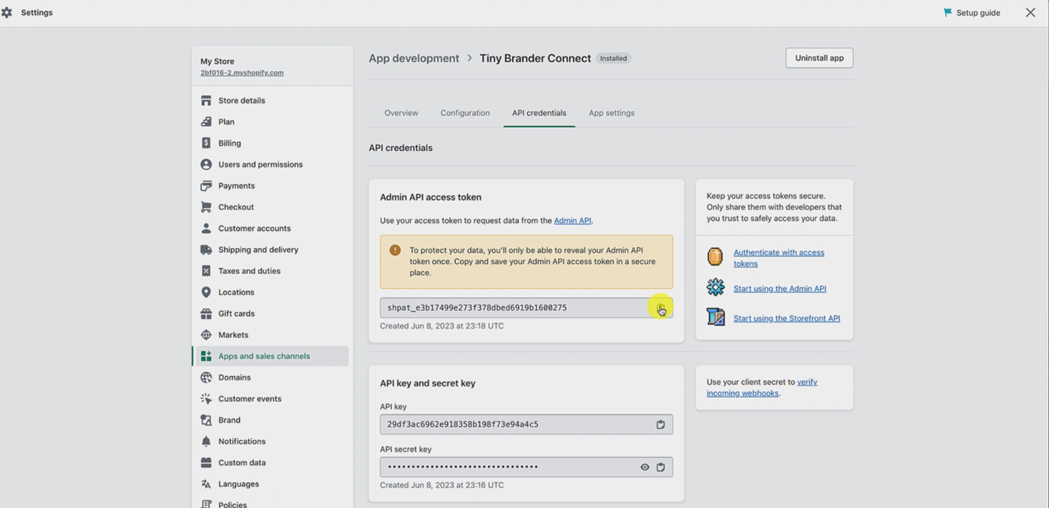
And remember, this is the Admin API access token.

So we go back to Tiny Brander. And we go to the Admin API access token, and we paste.
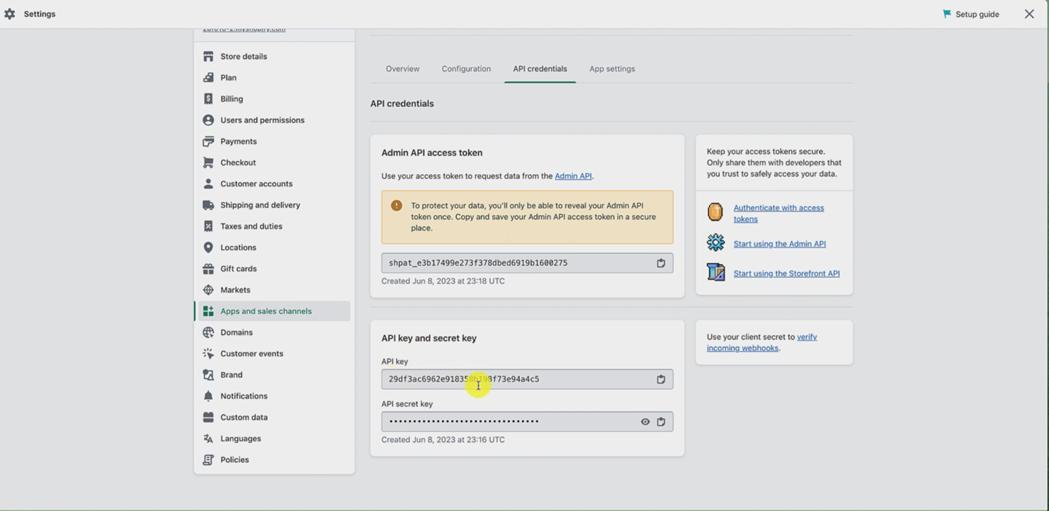
Then we go back to Shopify, scroll down a little. We then have the API key and the secret key. So API key first, copy the API Key.
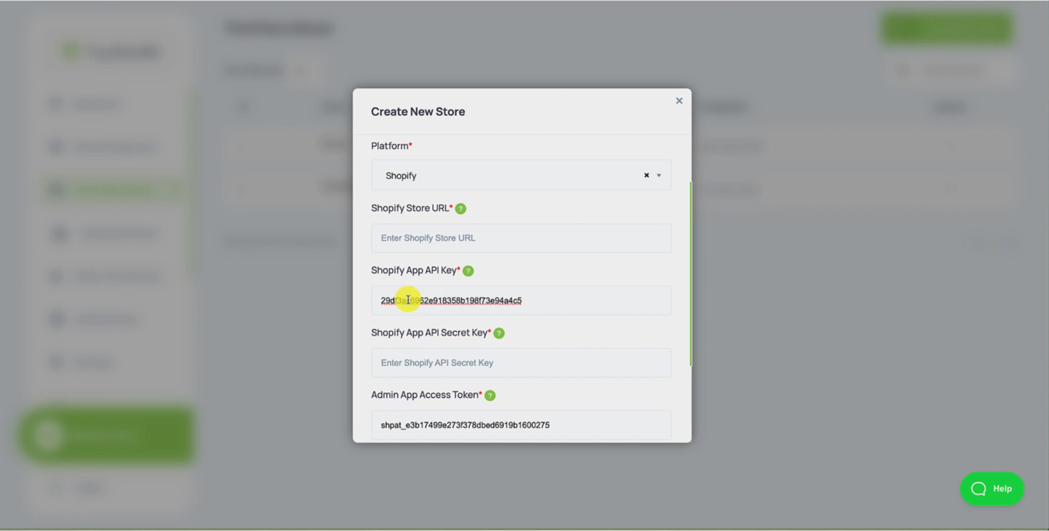
Go back to Tiny Brander. And put in the Shopify API Key box right there, and paste.
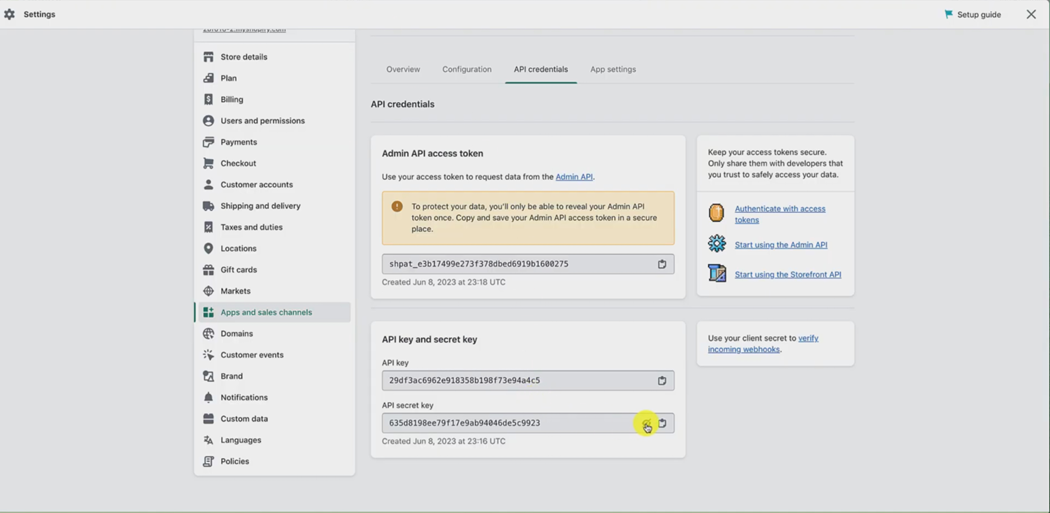
Then once again, back to Shopify. And then we reveal the API Secret Key by hitting the little eyeball,
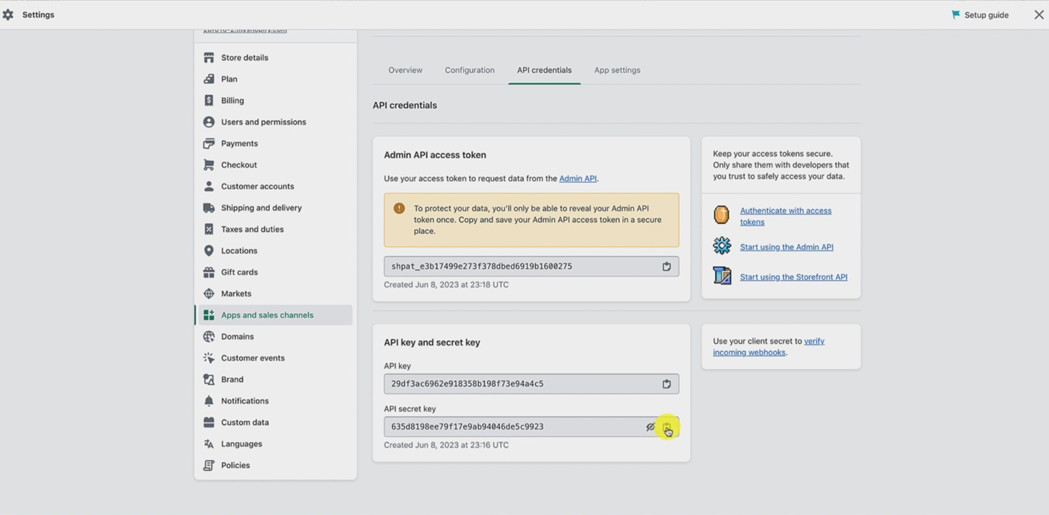
and then we hit copy again.
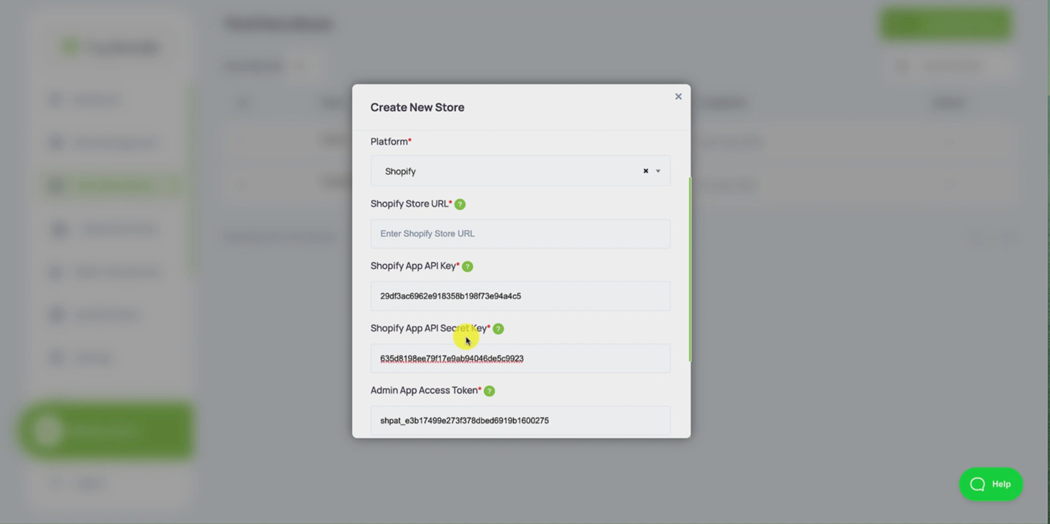
And then we go back to Tiny Brander. And then we paste it in to the Secret Key Area right there. The only piece of information we're missing now is the shop URL.
So we go once again for the final time back to Shopify. And we go here to at the top of the settings area where it gives you the shop URL,
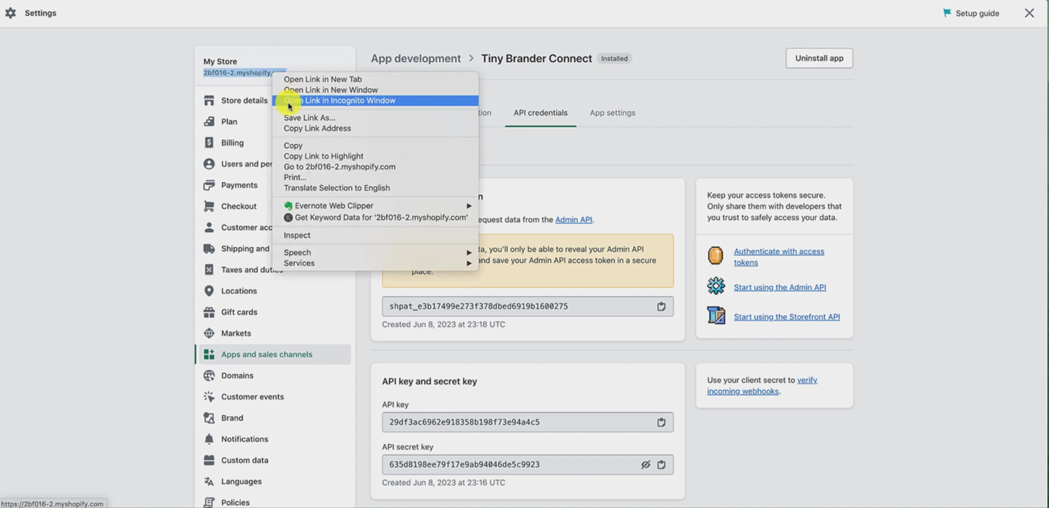
and we can just Ctrl or right click on that and copy that address, and then go back to Tiny Brander.
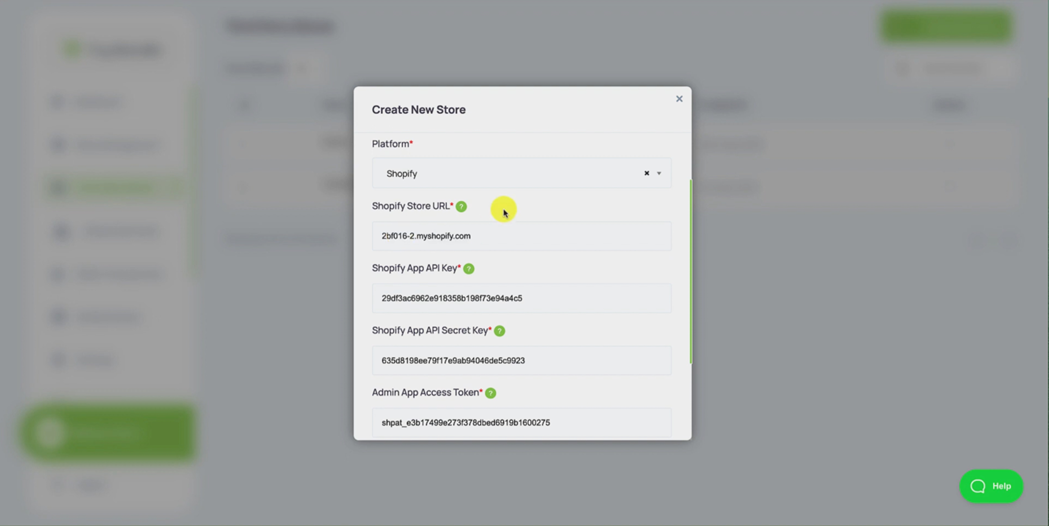
And paste it in there. So now when we look at in Tiny Brander, we have the name we've given the store, the platform is Shopify we have filled in all the boxes pulled out of Shopify,
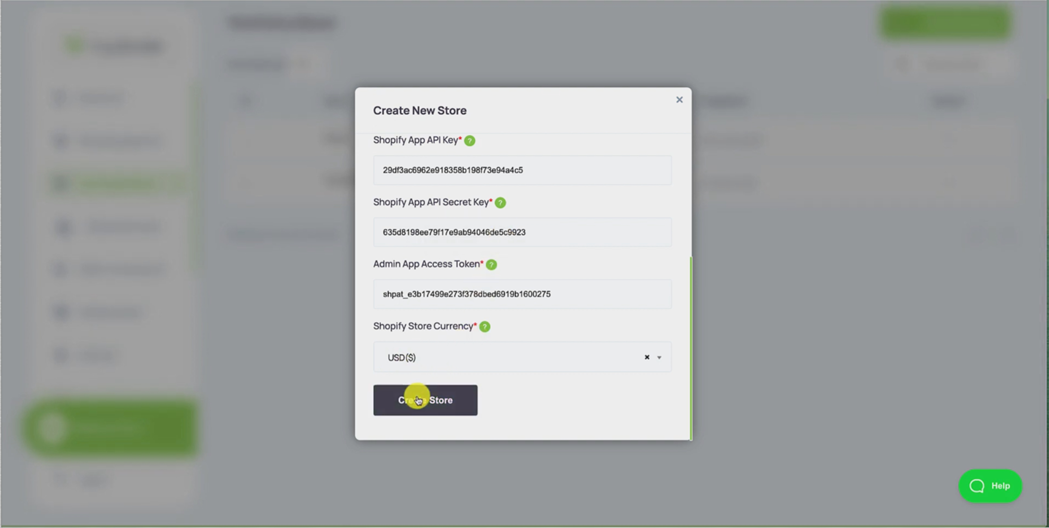
we've selected the currency and we hit Create store.
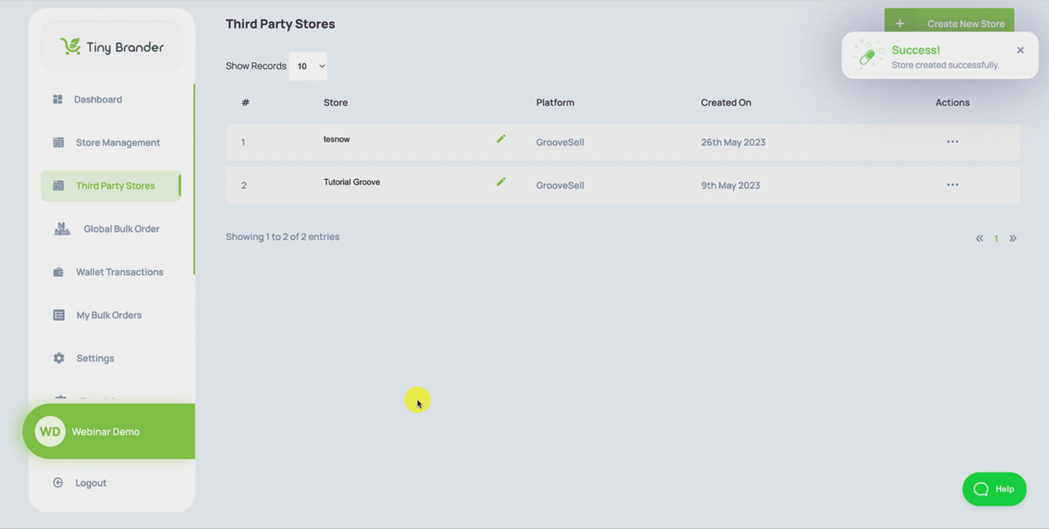
Now that’s going to set up a Store inside Tiny Brander its going to take just a minute to populate all the products. And it should refresh any second:
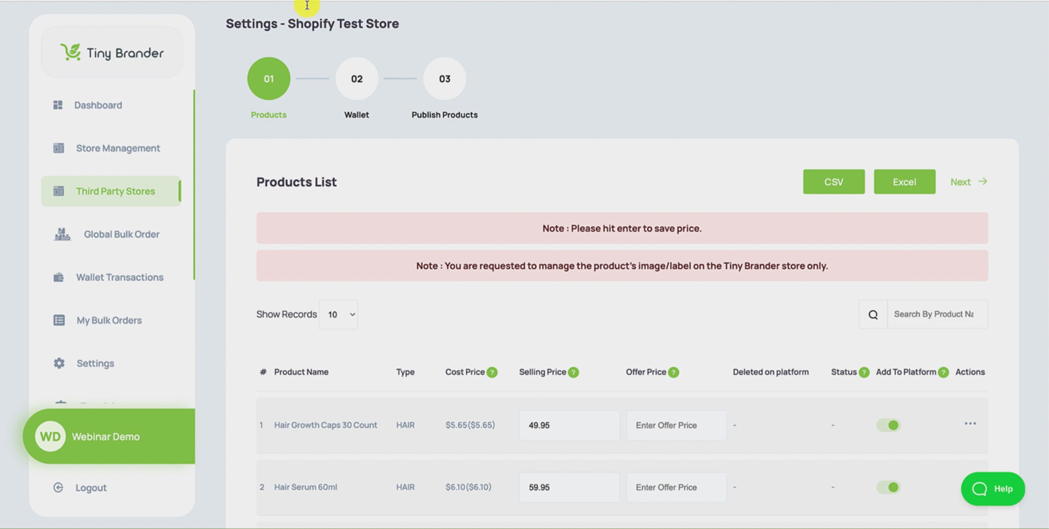
There you go it's brought me into the Shopify test store.
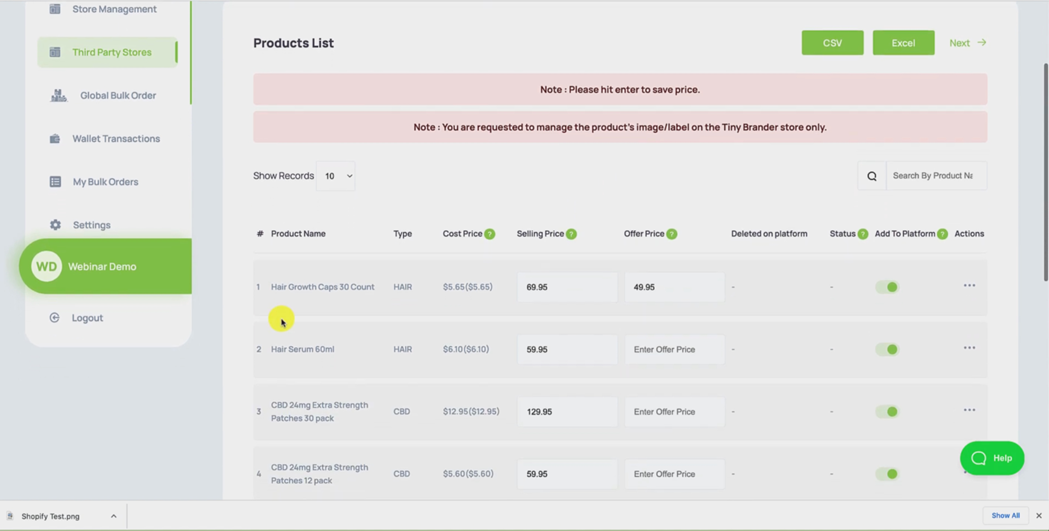
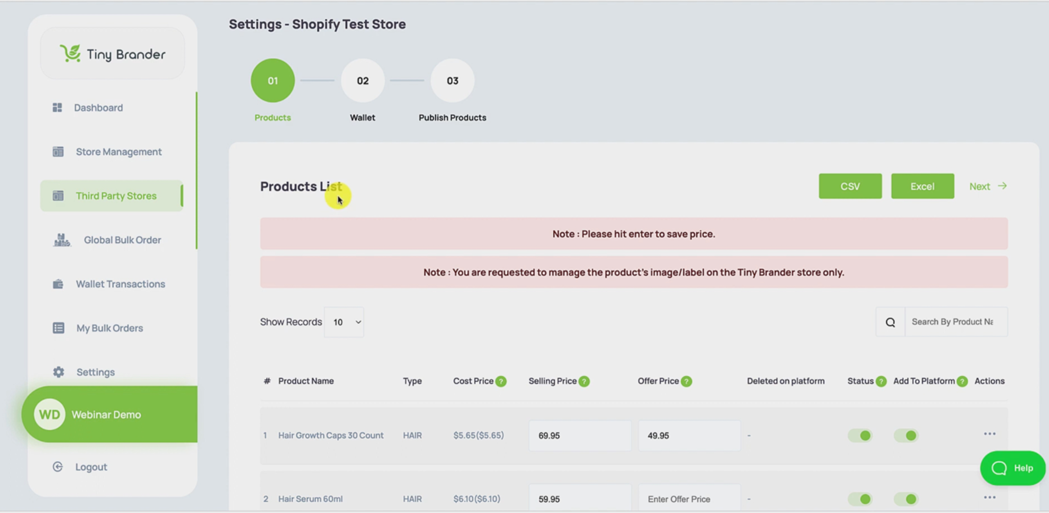
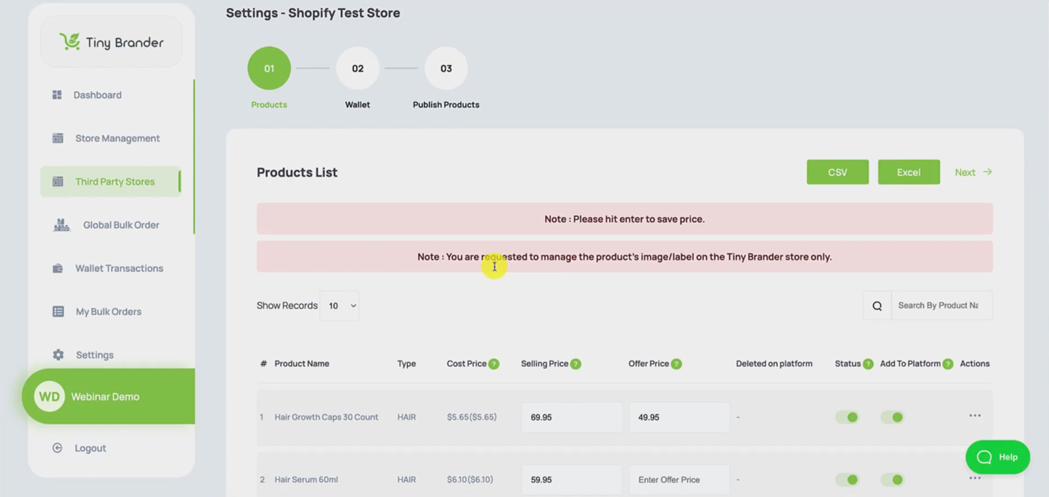
You can see there at the top, and in here we have all of the products available to you in Tiny Brander.
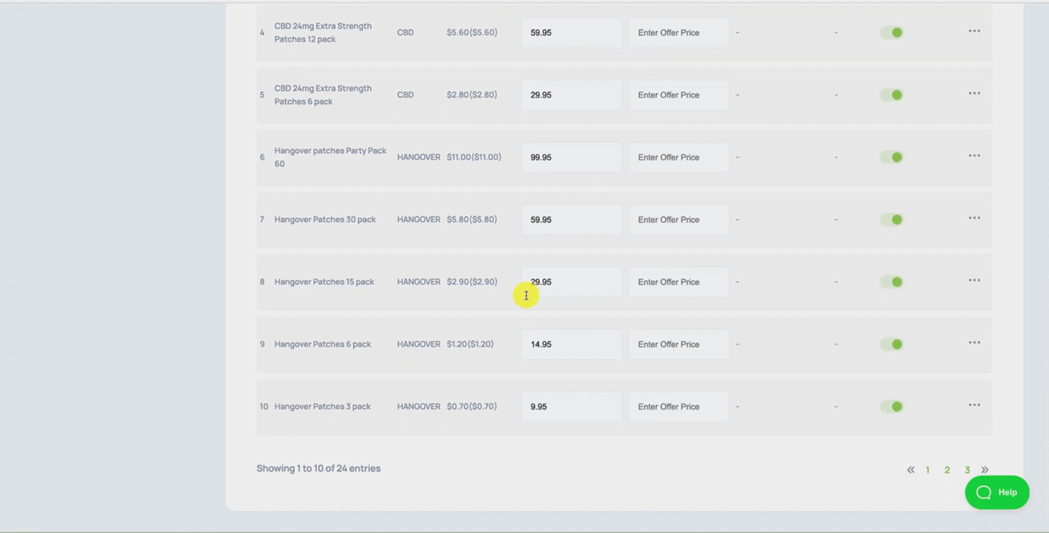
So automatically, they're selected as default to be switched as ON to be pushed to Shopify. Okay, we're going to push every product to Shopify, any products that you don't want to push to Shopify, you should switch off by switching the toggle switch to OFF.
Okay, so I suggest you go through all the products you want and make sure they're switched on any products, you don't want to go to Shopify, make sure they look like this and a switched off. I'm just going to keep them all on for now.
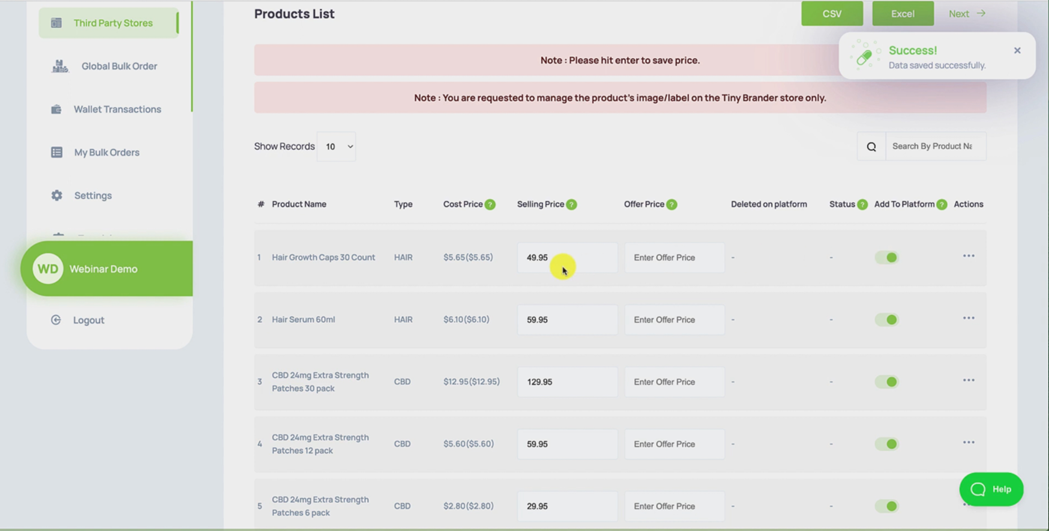
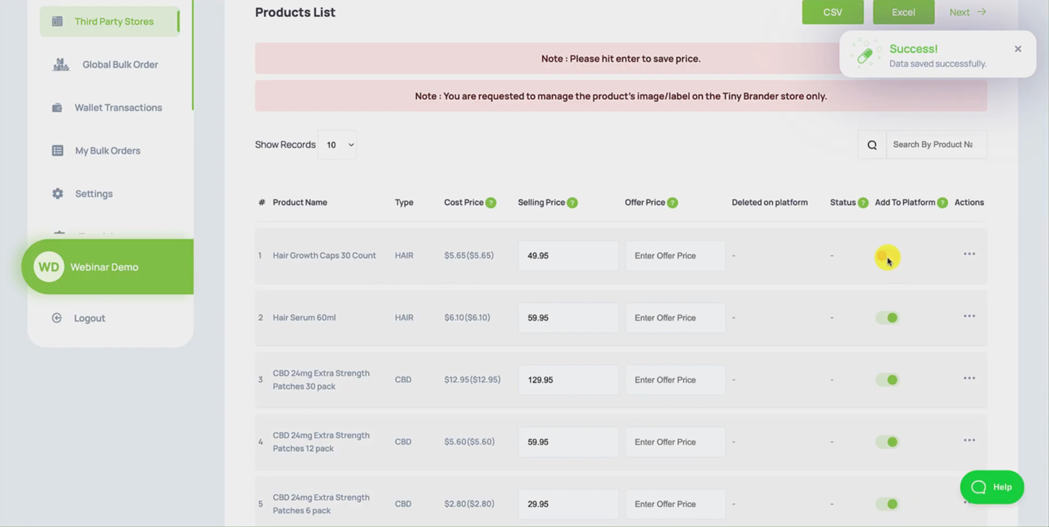
Okay, you might want to select some things up here to create to select the selling price and an offer price. So I'm just for demonstration purposes, I'm going to use the hair growth caps here, I'm going to change the selling price to $69.95.
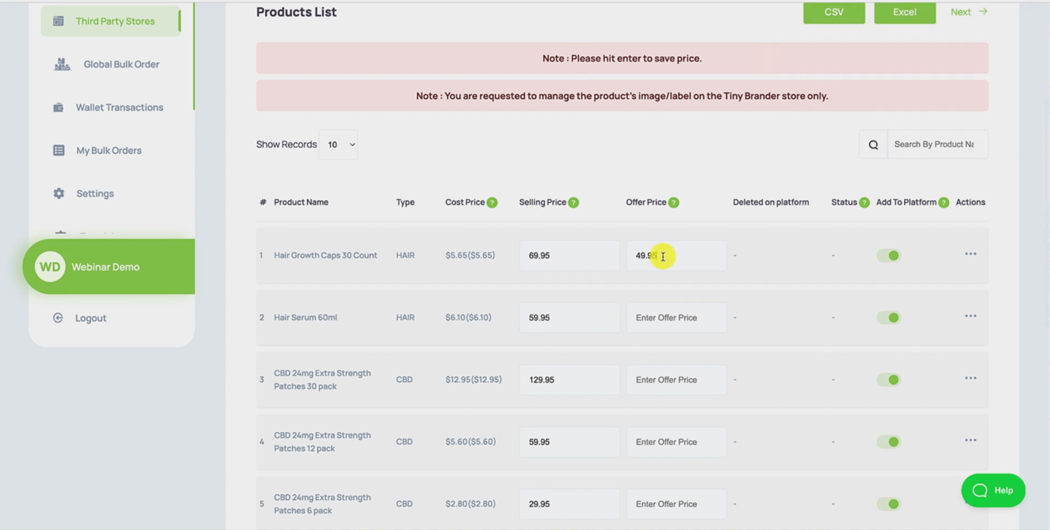
And you'll see how this displays and then I'm going to make the offer $49.95 and hit enter to secure those prices inside Tiny Brander. And that should now be pushed across to Shopify when we do the product push in a couple of steps.
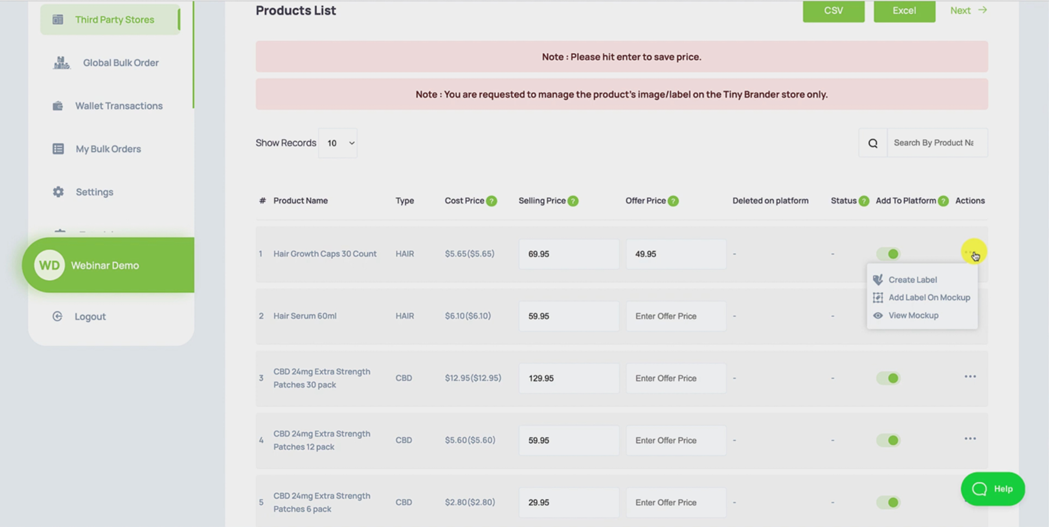
But first of all, I want to create some labels for every product that you push across to Shopify, you must have a label attached to it inside Tiny Brander before you push it across. Otherwise what will happen is you'll take orders in Shopify and we will have nothing to print to put on the product and it will just cause delays and your customers will be unhappy. So make sure that you have labels for every product that you're pushing to Shopify, I'm just going to do one here real quick.
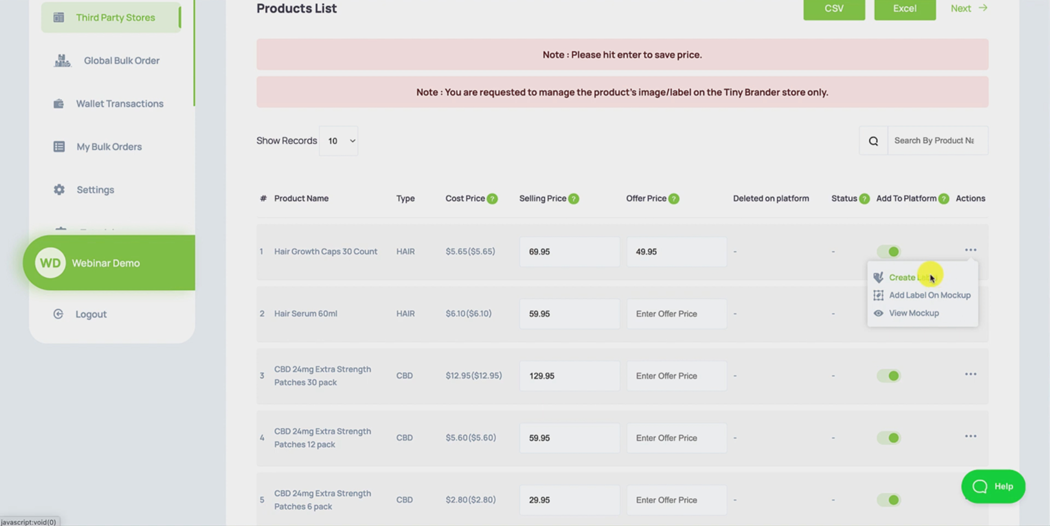
I'm just going to hit Create Label.
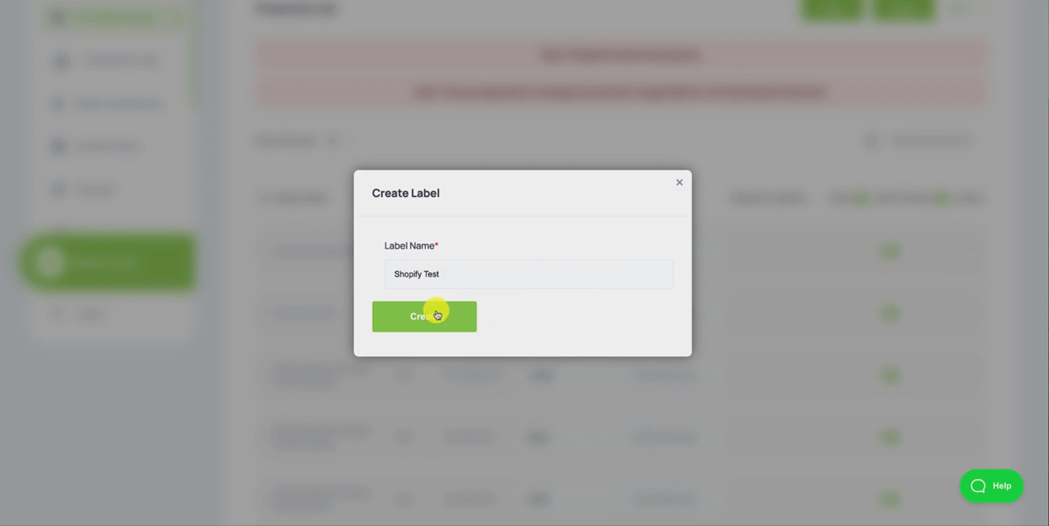
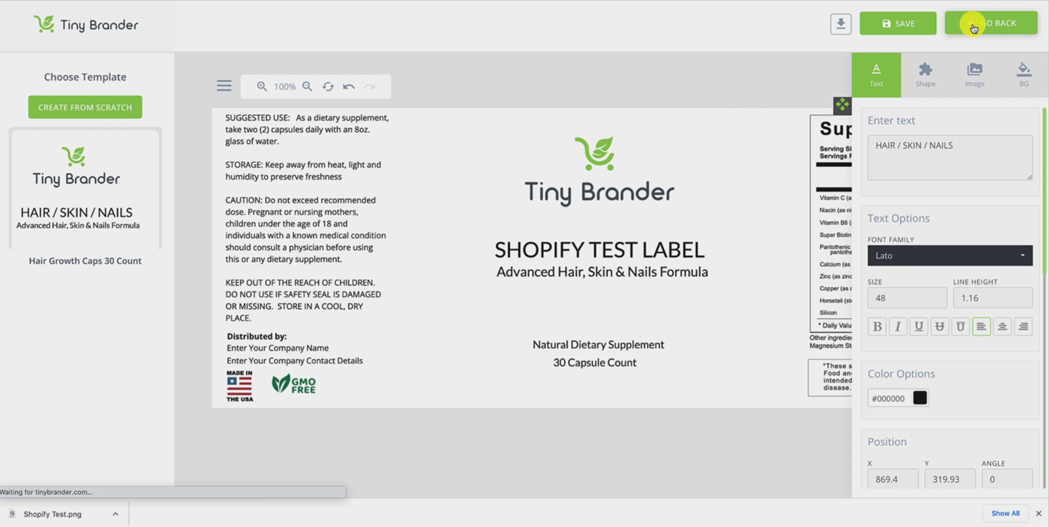
Enter label name, I'm going to call this Shopify test, hit Create that's gonna open up our label editor.
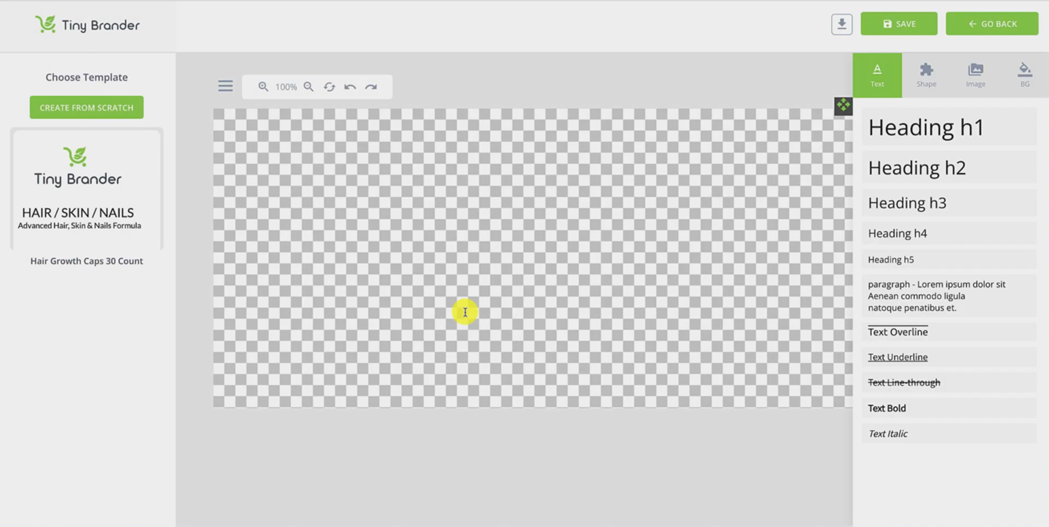
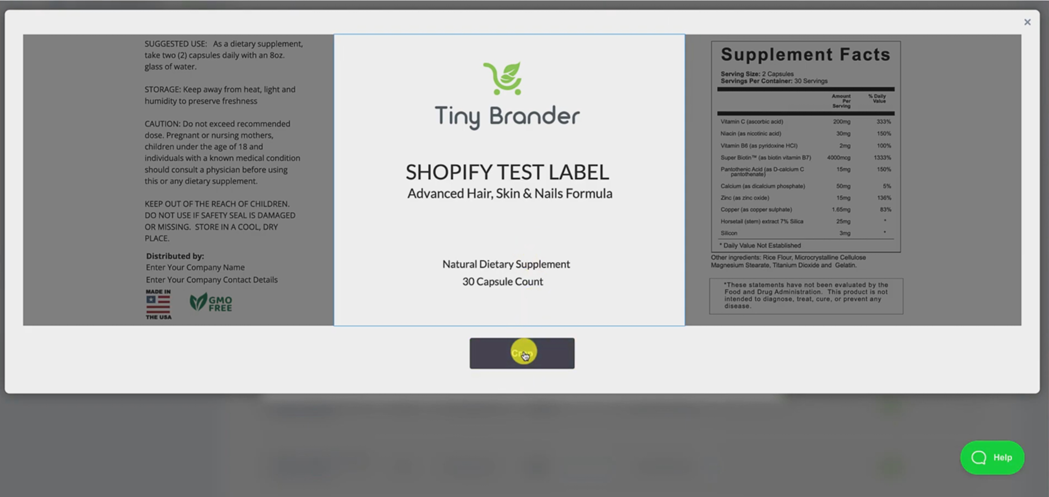
Okay, and I'm just going to use this template for the hair, skin and nails capsules.
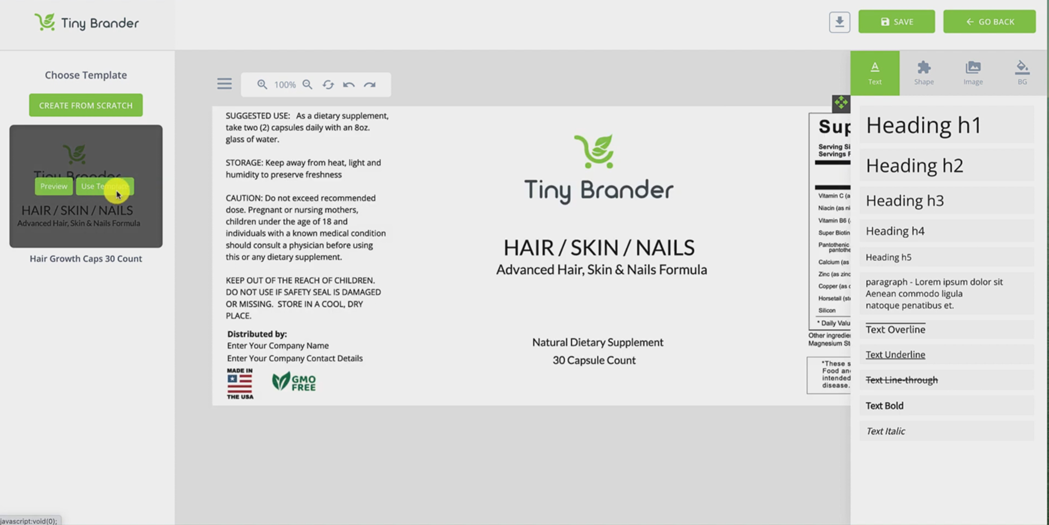
I'm just gonna change the name here.
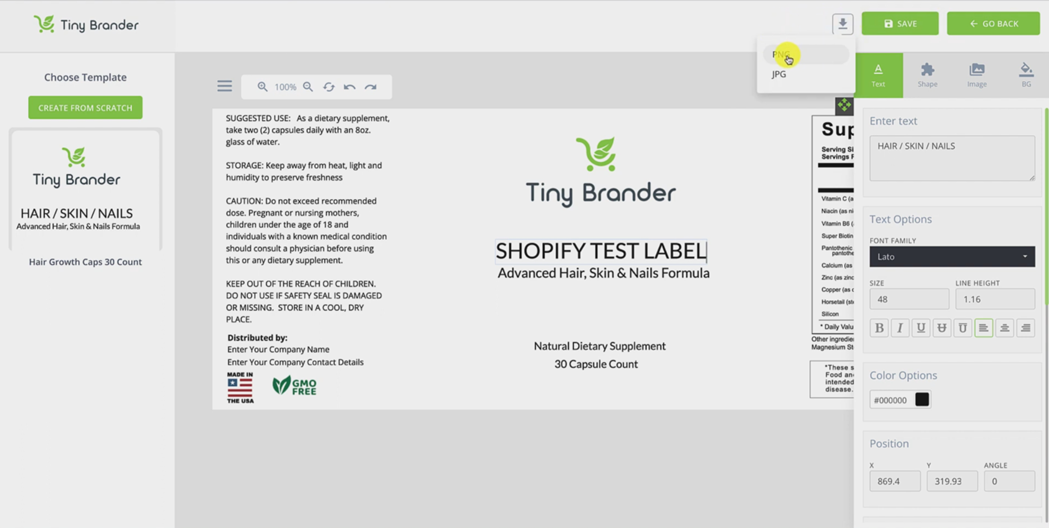
So you're going to be able to see this working in real time. And I'm going to call this oops, put my caps lock on "Shopify Test Label". Okay, I'm gonna save that.
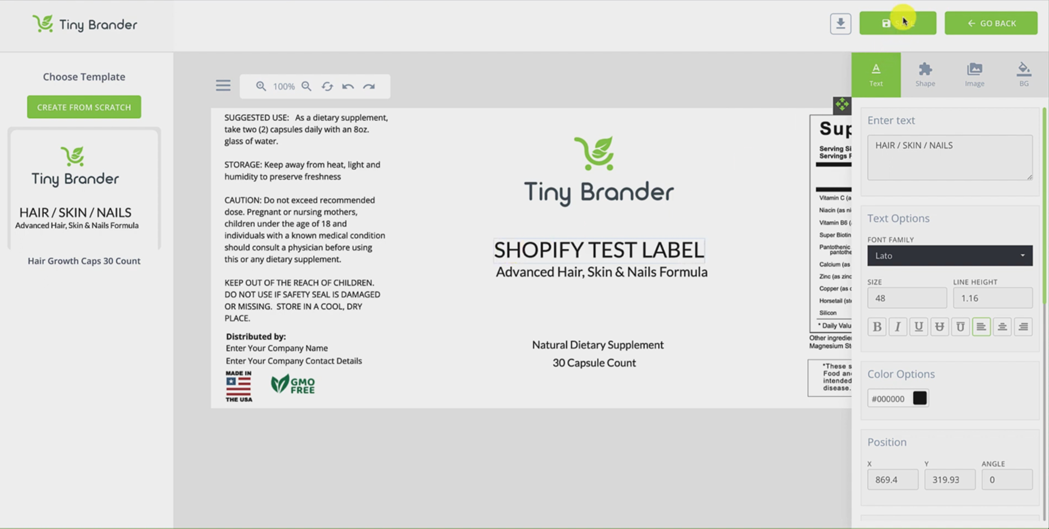
That's now saved inside the tiny brand platform. And this will be the label we print when your orders come through. But we now need to create the mock up, that's going to display in your Shopify store.
So we hit download here as a PNG, it's going to save that label onto my hard drive. And then there's just one more step to do. Before we can go and push product to Shopify, so I'm going to hit go back.
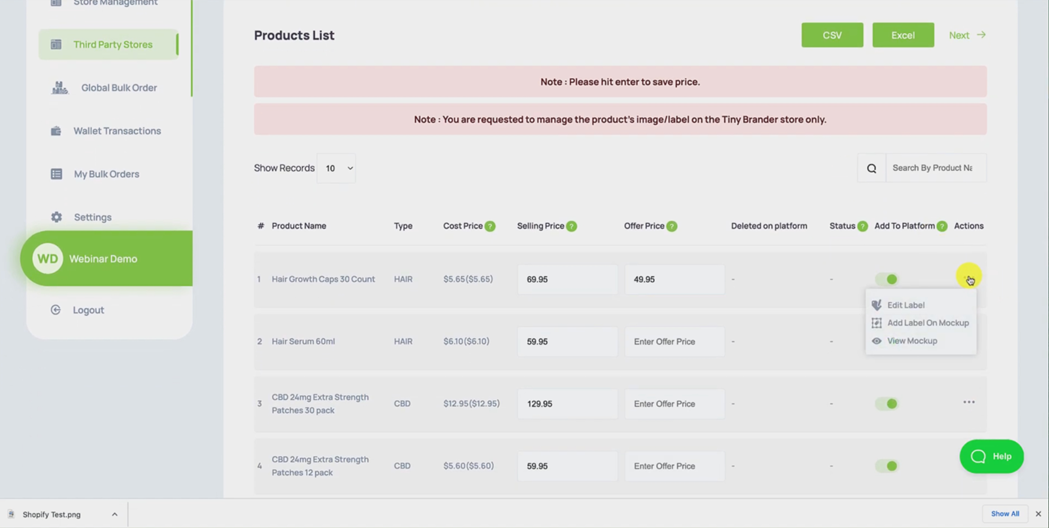
Then I'm going to go to the three little dots again.
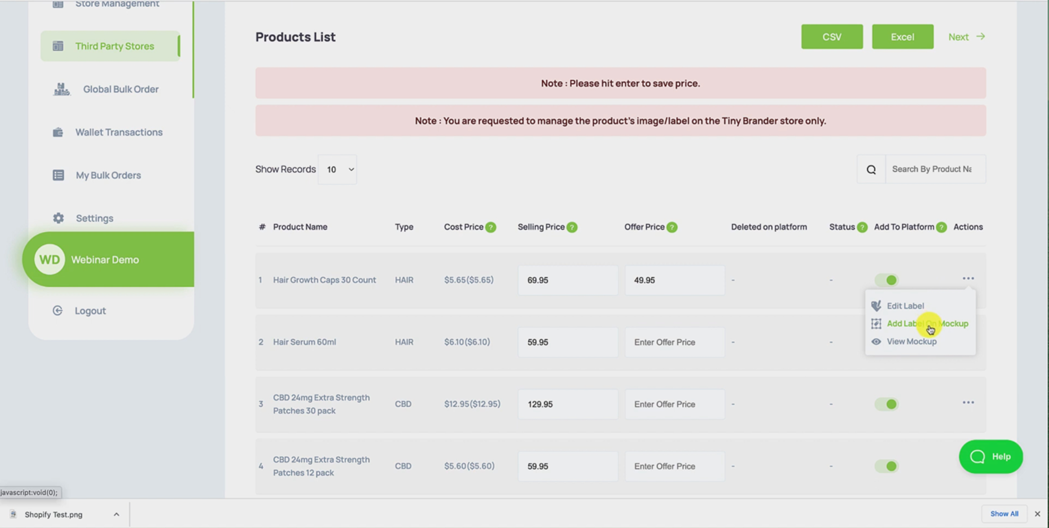
And now I'm going to put add a label on mockup, we're going to hit Upload Image.

And in my downloads, we have the Shopify test label there
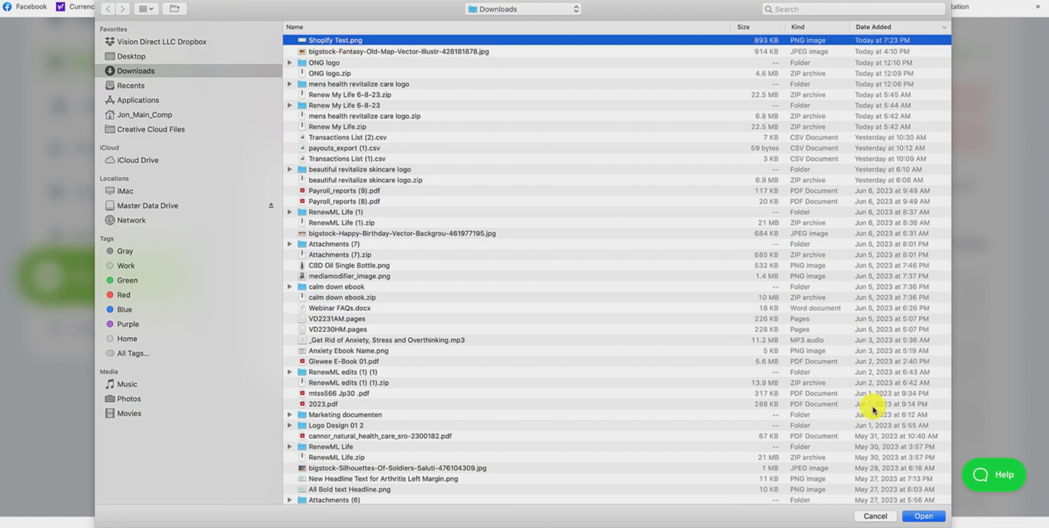
and hit open you can see it right there, I'm gonna select that label,
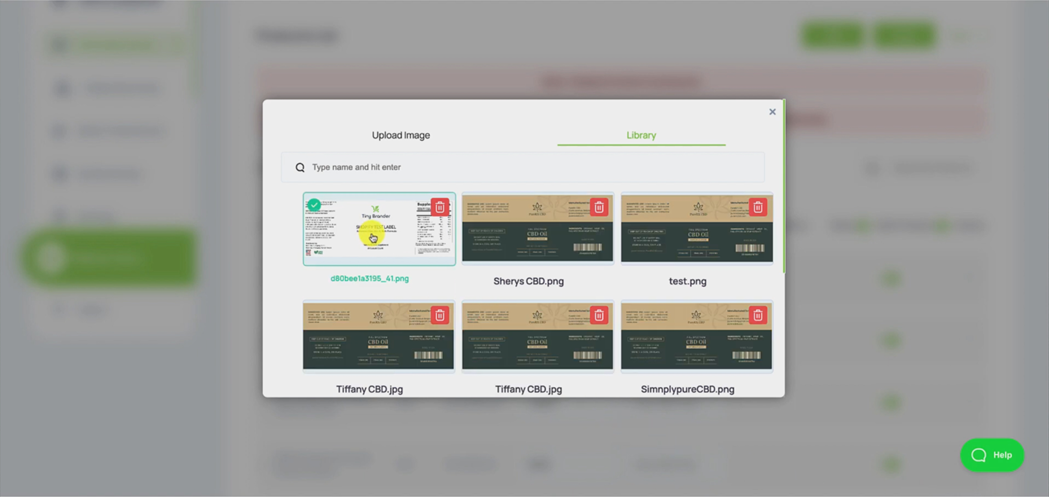
and just hit Apply.
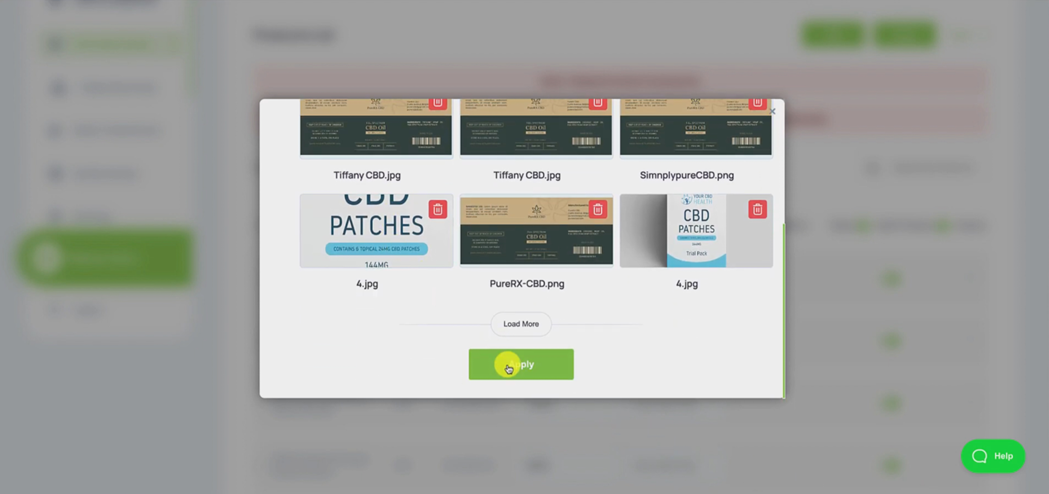
And just hit crop.
Now that's applying it to the product mock up, which will then get pushed to Shopify.
Okay, so that is now done for the hair growth capsules. And you need to make sure that you have a label applied just in the same way a label in the label editor and a label attached to the mock up for every product that you want to push to Shopify, so I just did the hair growth caps, you're going to want to do it for every other product that you want to push into Shopify. Okay. And the way you do that, again, is just by hitting the three little dots, doing the Edit Label, creating the label in the label editor, downloading that label and then adding that label onto the product mockup.

Okay, do that for every product, and then you can move on step two, by hitting next.
Now, step two is just selecting the wallet.
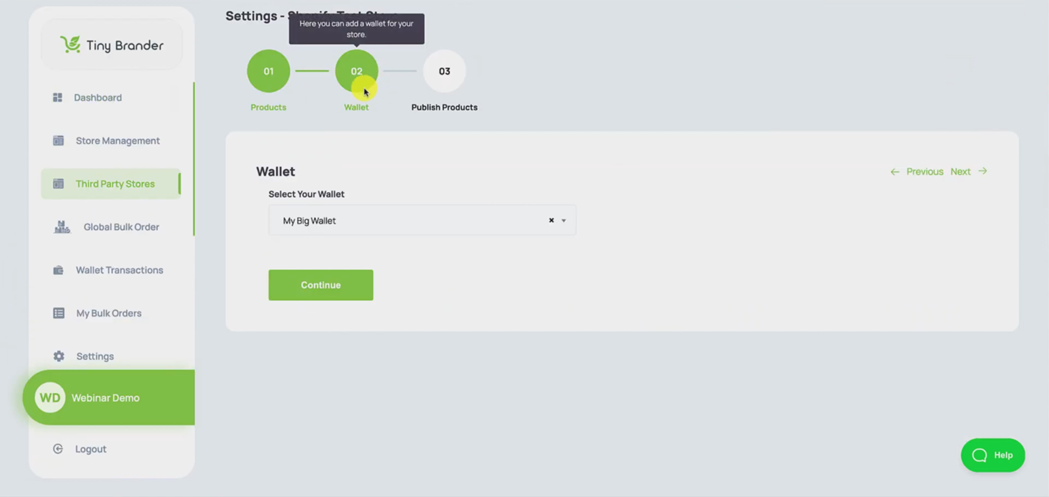
In other words, the way that you're going to pay us for the products that you sell through Shopify.
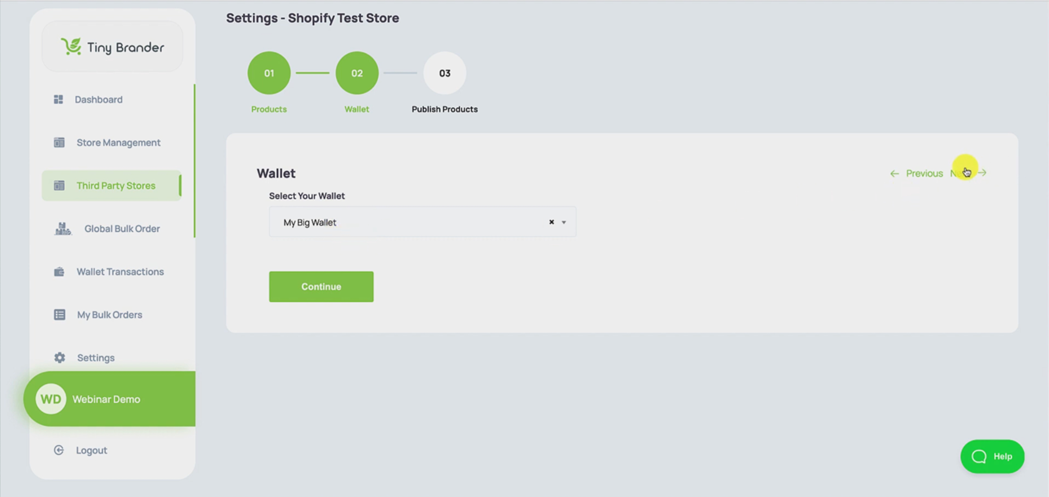
Mine selected as default there, so I can just hit Next.
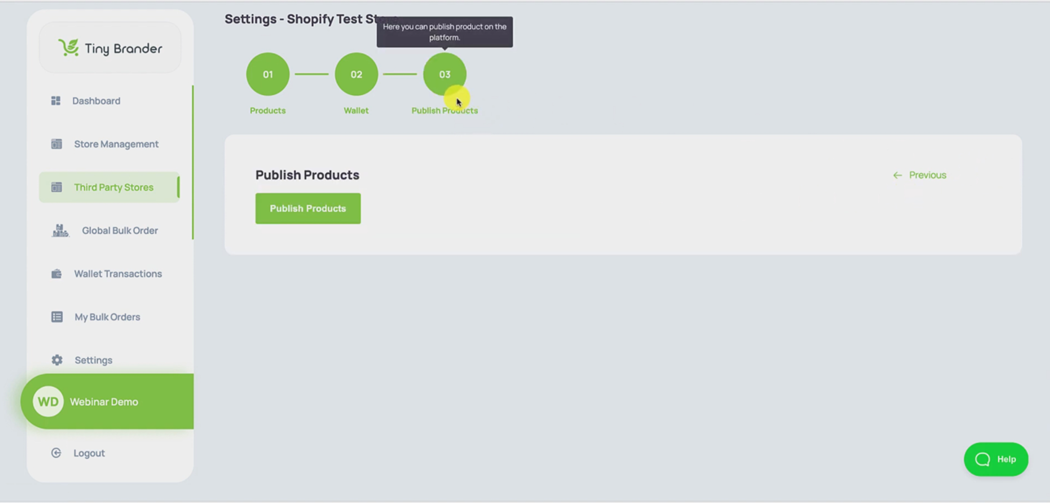
And the final stage is just to publish the products to Shopify, and all we have to do is hit this button to hit Publish products.
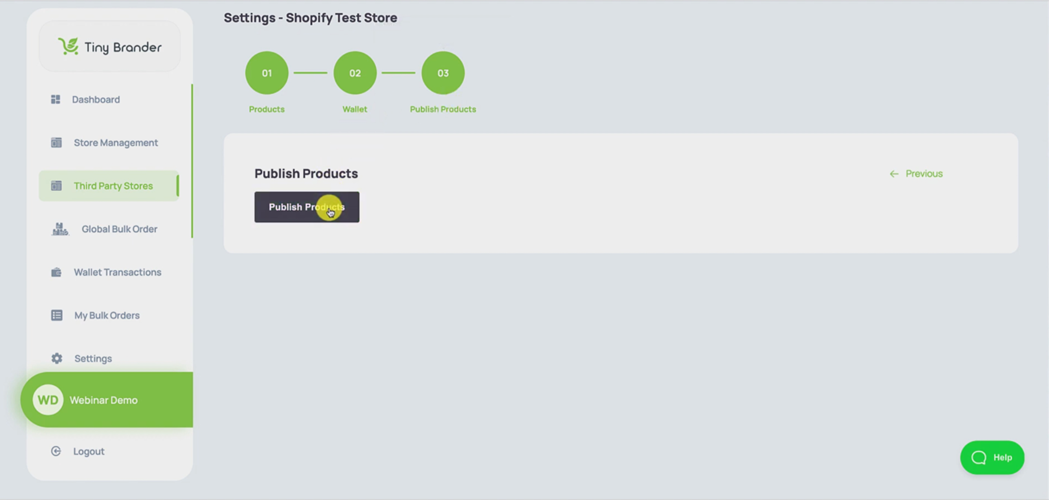
And all of the products that we had selected, are gonna get pushed across to Shopify, with all of the prices on all of the product mock ups and all the product labels attached perfectly. This is going to take just a minute to do and we'll be back the moment that's finished.
Okay, you probably just saw the success icon pop up there. So that has all been pushed across to Shopify.
And if we go now across the Shopify here, and if we, if we just exit out of the settings there for a second, and we actually go down to where it says online store here on the left hand side, and just hit the view your online store icon there.
Okay, obviously, we haven't set anything up in the templating of Shopify, so it's just a bog standard template here.
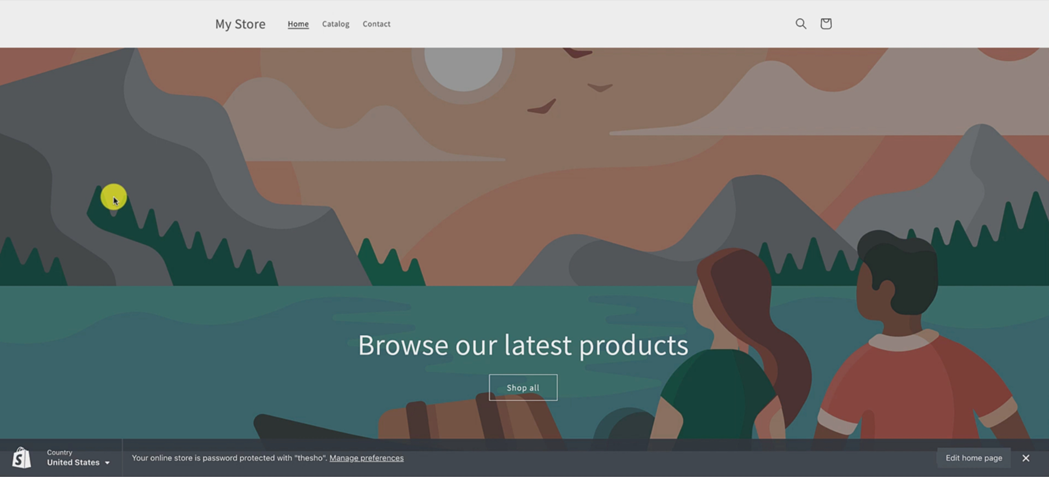
But if we scroll down, you can see all of the products have been pushed across to Shopify.
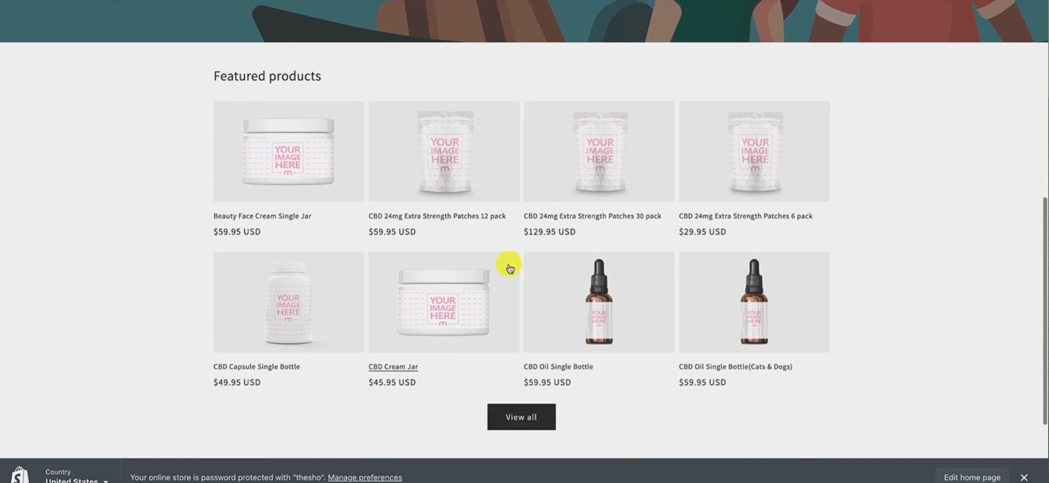
If I just click View All there, you will see the one that we edited and added the label to the Shopify test label.
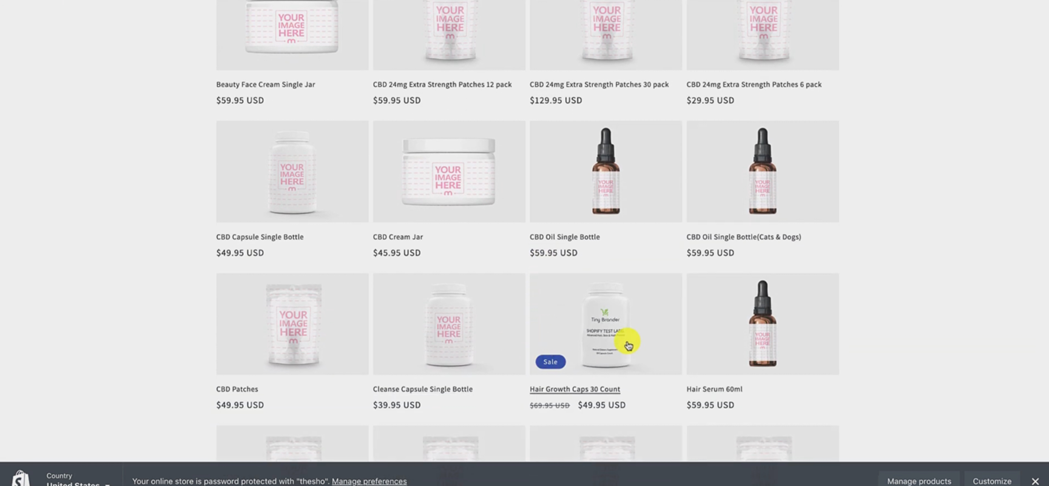
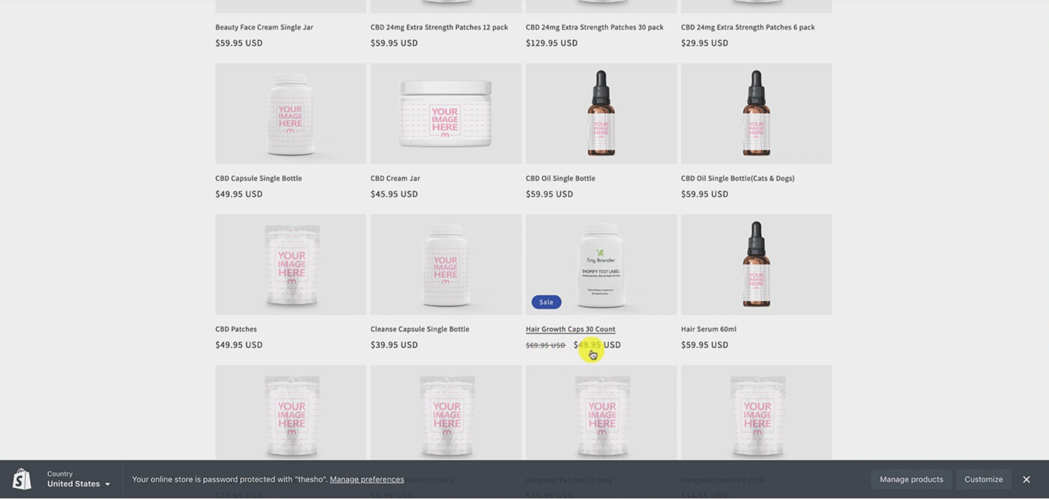
And you can also see how the pricing we set displays, you remember we set if I just go back, you can see we set the selling price at $69.95, but an offer price of $49.95.
And this is exactly how that will display in Shopify, so it shows it on sale.
Okay, so that is how it's done. Guys, that's how the integration works with Shopify. Yes, there is a number of steps to take. But if you follow this video carefully, and just take it a step at a time, you'll have your Shopify store up and running in no time at all.
I hope that helps if you have any questions or any concerns, as always reach us through support@tinybrander.com. All the best thanks a lot bye.